
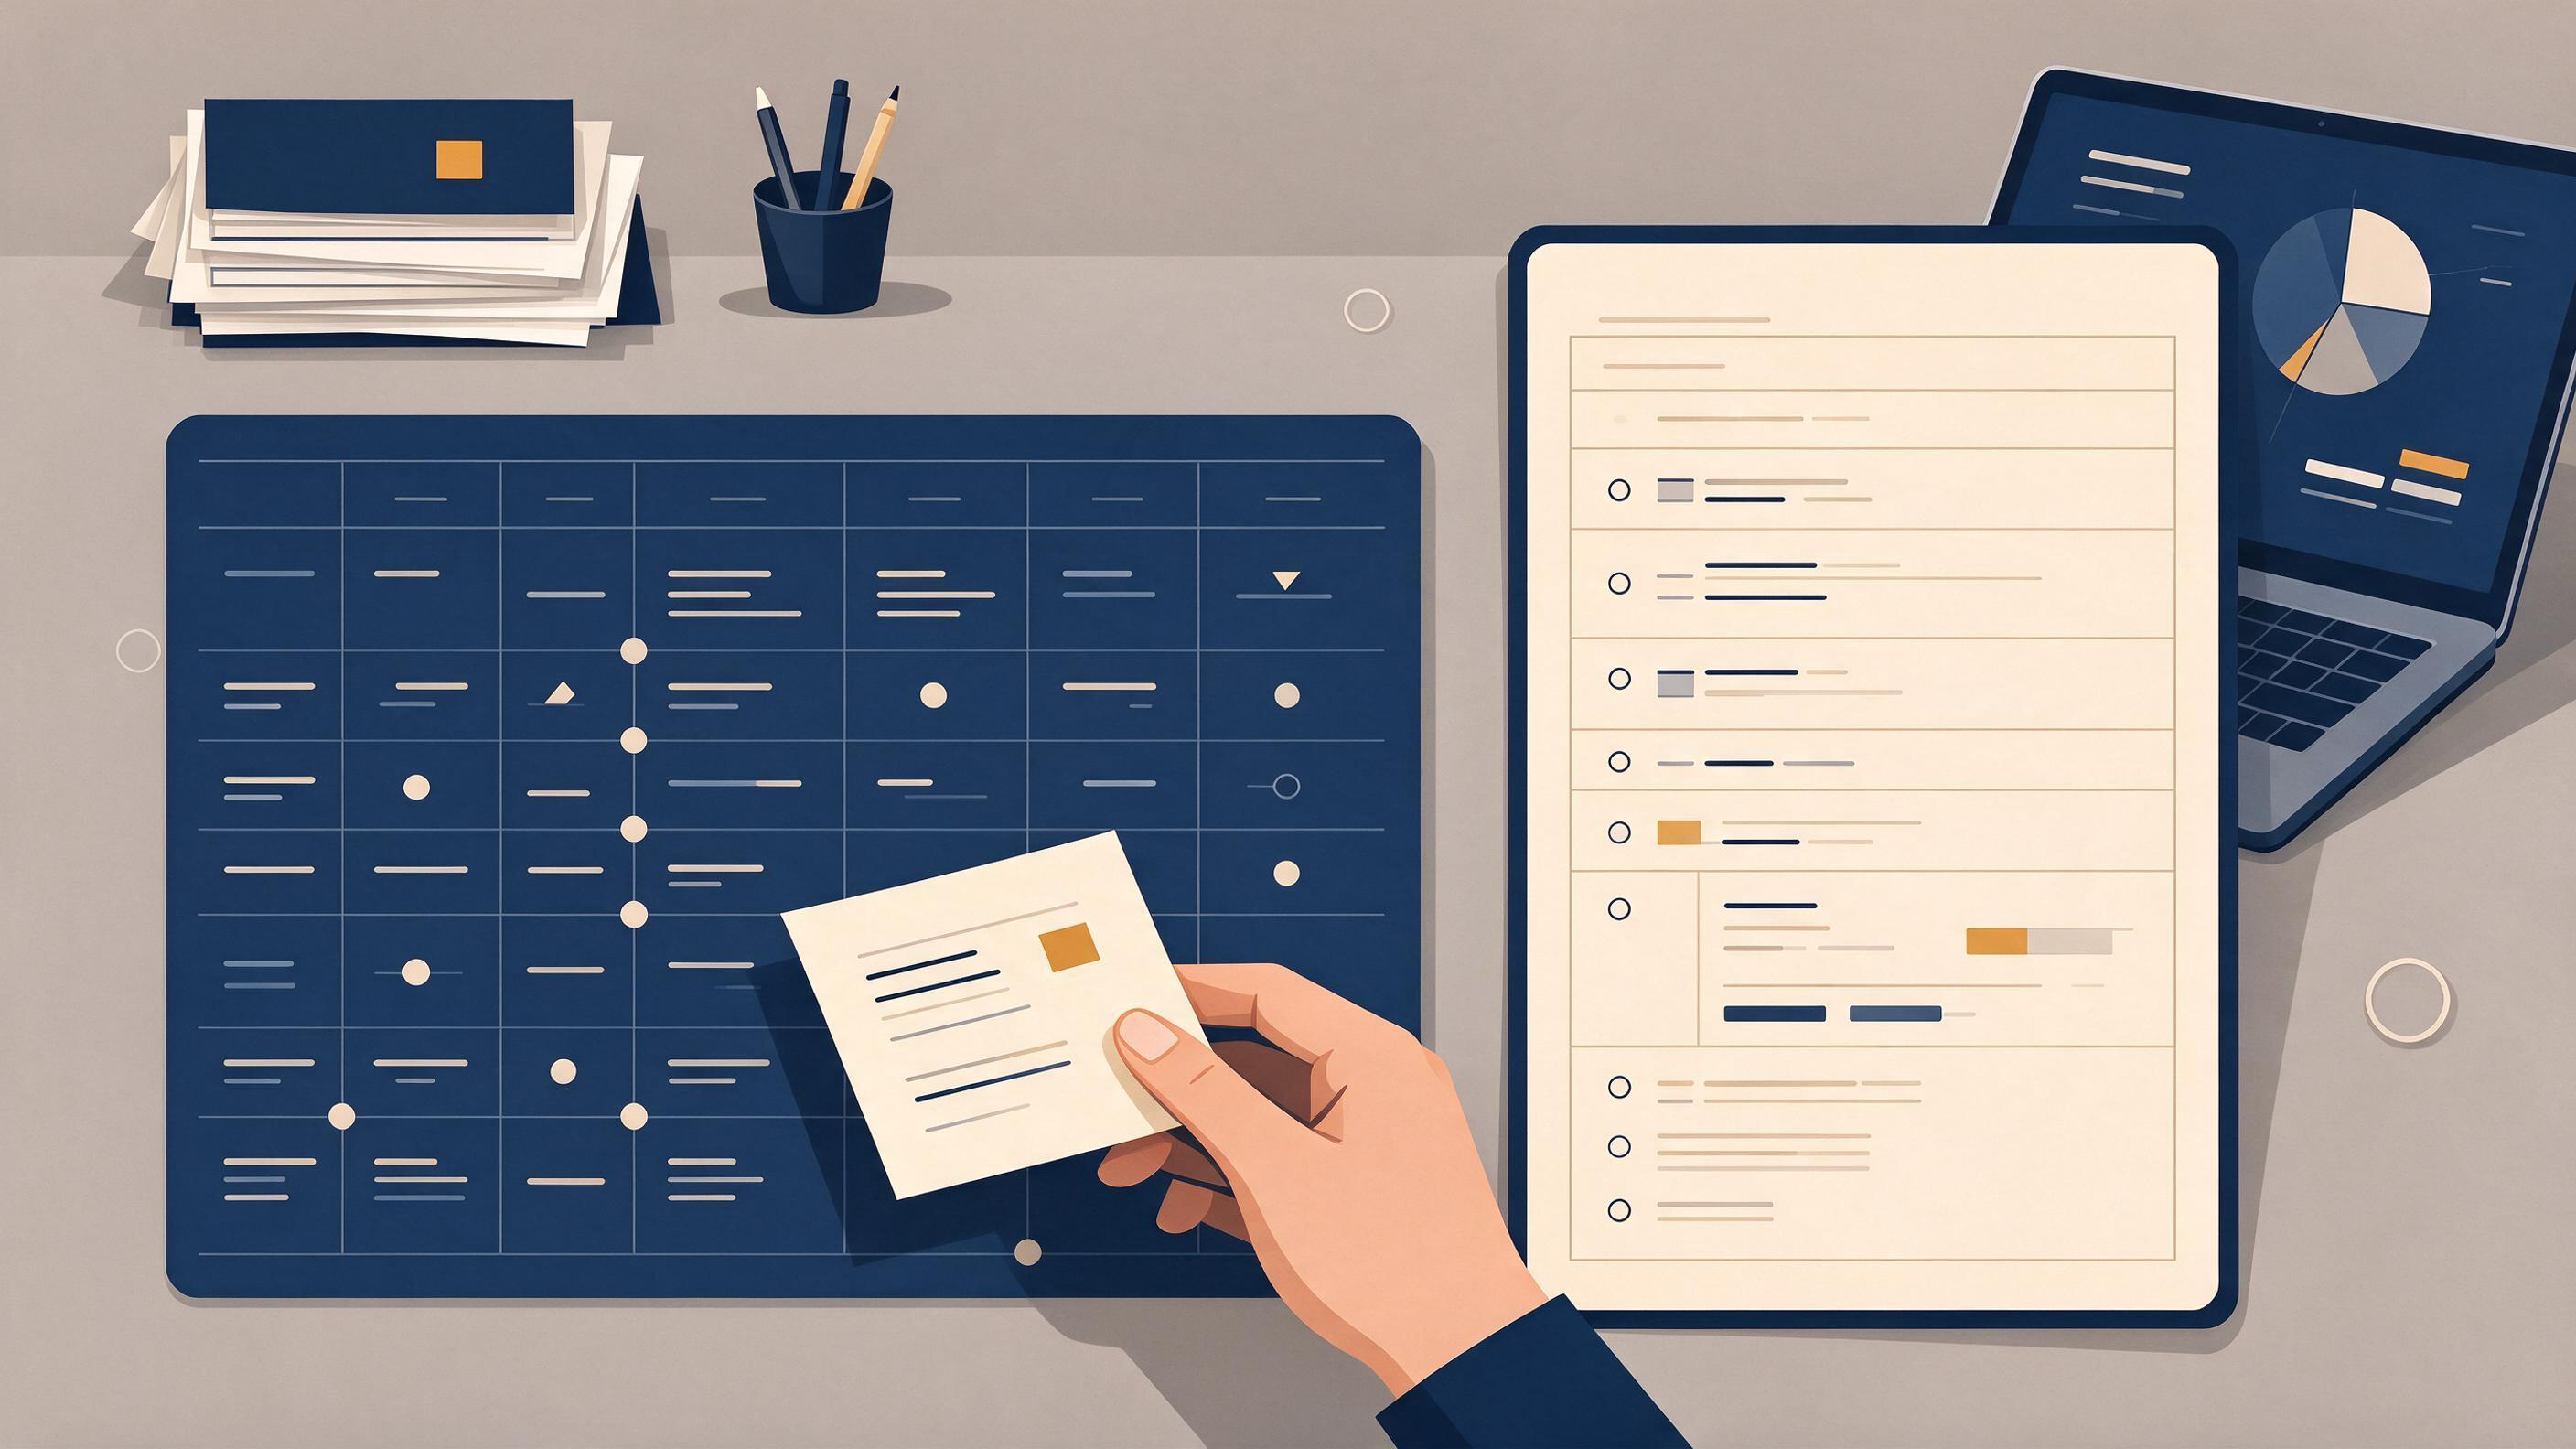
You have a folder of PDFs, a supervisor's comment asking where the "evidence" is, and a nagging sense that your notes are scattered across three apps. The question in front of you is concrete: should you build an evidence table or a data extraction form? The short answer is that they answer different questions. An evidence table is a synthesis-facing summary that lets a reader compare studies at a glance; a data extraction form is a structured capture instrument that records what each study reports, field by field, before synthesis begins. Many projects need both, and the order matters.
This article diagnoses where you likely are, compares the two artifacts on the same task, shows where each one breaks down, and gives you a combined workflow you can start this week — whether you are cleaning up a thesis chapter over winter break or kicking off a January project.
What problem are you actually trying to solve?
Before choosing a format, name the job. Three common starting states look similar but need different artifacts:
- You are writing a literature review section and need to show how studies compare on population, method, and outcome. This is a synthesis job, and an evidence table is the natural home.
- You are about to screen and read a large set of papers and need a consistent way to record what each one reports. This is a capture job, and a data extraction form keeps you honest across dozens of papers.
- You have supervisor feedback like "your comparison is thin" or "where did this number come from?" That usually means your capture was incomplete or your summary was never built — often both.
Cochrane's guidance on searching and selecting studies emphasizes planning from explicit eligibility criteria, documenting the process, and screening in stages. That framing helps here: your eligibility criteria define what belongs in the set, and your artifact defines what you record once a study is in. If you cannot state your eligibility criteria, fix that first; neither artifact will rescue an undefined scope.
What is an evidence table, and what job does it do?
An evidence table is a comparison grid. Each row is a study; each column is a characteristic you want a reader to compare across studies — for example, the population studied, the design, the intervention or exposure, and the outcomes reported. Its purpose is synthesis-facing: it lets you and your reader see patterns, gaps, and disagreements across the body of evidence without reopening every PDF.
An evidence table is at its best when:
- You already know which studies are included.
- You need to write comparative prose and want the comparison visible.
- A reader (supervisor, examiner, co-author) needs to audit your summary quickly.
It is at its worst when it is the only artifact you keep, because a comparison grid compresses. The moment someone asks "what exactly did study four report for that outcome, and under what conditions?" a summary row may not carry enough detail.
What is a data extraction form, and when does it earn its keep?
A data extraction form is a capture instrument. It is a fixed set of fields — one form per included study — that you fill in consistently as you read. Where the evidence table is built for comparison, the extraction form is built for completeness and consistency.
A data extraction form earns its keep when:
- You are reading many studies and need the same fields recorded for each.
- Multiple people (you and a co-author, or you across two sessions weeks apart) must record information the same way.
- You anticipate needing to trace a specific reported value back to its source.
Cochrane's selection guidance stresses documenting the process and linking multiple reports of one study. A well-designed extraction form supports exactly that discipline: one form per study, with a field for noting when several reports describe the same study.
How do the two compare on the same research task?
Imagine a concrete task: you are reviewing studies on a topic for a thesis chapter, and you have ten included papers. Here is how each artifact handles the same job.
| Criterion | Evidence table | Data extraction form |
|---|---|---|
| Primary purpose | Compare studies at a glance | Capture reported details consistently |
| Unit of work | One row per study | One form per study |
| Best moment to build | After inclusion is settled | As you read each included study |
| Strength | Fast comparison; readable synthesis | Completeness; traceable detail |
| Failure mode | Over-compression; lost detail | Hard to read as a whole; no comparison view |
| Audience | Supervisor, examiner, co-authors | You and your extraction team |
| Feeds | The written synthesis | The evidence table |
Read the last row carefully: the extraction form feeds the evidence table. That ordering is the backbone of the combined workflow below.
Where does each artifact fail?
Evidence table failure: the summary that outruns its source. When you build the table first and skip structured capture, you compress before you have recorded. A cell that says "improved outcomes" is a summary of a summary. If a supervisor asks for the specific reported figure, you may not have it. The table looks finished but cannot support the claims it invites.
Data extraction form failure: the form nobody can read. A thorough extraction form can become so detailed that it stops functioning as a working document. If you never build the comparison view, you have captured everything and synthesized nothing — and the writing stage stalls because you still have to hold ten forms in your head at once.
Both failures share a root cause: treating one artifact as if it could do the other's job.
What does a combined workflow look like?
Here is a sequence that uses each artifact for what it does best. It works for a thesis chapter, a course paper, or a first manuscript.
Step 1: Fix your eligibility criteria and search plan
Start from explicit criteria. Cochrane recommends planning searches from eligibility criteria, using multiple sources, combining free-text terms with subject headings, and documenting the process. Write your criteria down before you search. If you are searching through a scholarly interface, WisPaper search is a place to run academic paper searches; keep your criteria document open beside it so each search decision is recorded.
Step 2: Screen in stages and deduplicate
Cochrane's guidance describes screening in stages and deduplicating records. Do the same: remove duplicates, screen titles and abstracts, then screen full texts. Save the papers that survive into one place. My Library lets you save or upload papers and organize them, which keeps your included set separate from the noise.
Step 3: Build the extraction form before you read
Design the form now, not after reading five papers. Fields should map to what you will compare later. Keep one form per study, and include a field for linking multiple reports of the same study, as Cochrane's selection guidance recommends.
Step 4: Extract, then summarize
Read each included study and fill its form. Only when the forms are complete do you build the evidence table — one row per study, columns drawn from the fields you extracted. Now every cell in the table traces back to a form, and every form traces back to a paper.
Step 5: Check your references before they reach the manuscript
A reference list assembled during a busy project is where errors hide. TrueCite checks BibTeX against real academic databases to flag hallucinated references — a useful pass before your bibliography goes to a supervisor or into a submission system.
Step 6: Ask questions of your own included set
Once your papers are organized, you may want to query them directly. Library QA lets you ask questions based on papers uploaded to My Library or added from search results. Use it to check your understanding of a study against the paper itself, then record the confirmed detail in your extraction form.
Step 7: Keep the project in one container
If this review is the start of a larger project, Research Projects is where you can create a new project and keep the work together. For longer research tasks, Scholar Agent supports literature review and related use cases.
A winter-break cleanup, worked through
Suppose it is late December. You have a draft thesis chapter with a thin comparison section and a supervisor note that reads: "I can't tell how these studies differ. Where are the numbers from?"
- Diagnose. The note points to two gaps: no comparison view (evidence table missing) and no traceable detail (extraction form missing or incomplete).
- Rebuild the included set. Re-check your eligibility criteria and confirm which papers belong. Save the confirmed set in My Library.
- Extract. Build a form with fields matching the comparisons your chapter needs, and fill one form per study.
- Summarize. Build the evidence table from the completed forms.
- Rewrite the comparison section using the table as your map and the forms as your source of detail.
- Clean the bibliography with TrueCite before sending the revision.
By the end of the break you have two artifacts, a rewritten section, and a reference list you can defend.
How do you know the result is ready?
Use these checks as a readiness test rather than a vague feeling:
- Every table cell traces to a form. Pick three cells at random and follow each back to its extraction form and its paper.
- Every form is complete for its study. Fields you designed are filled or explicitly marked as not reported.
- Multiple reports are linked. If two papers describe the same study, your form notes the link, consistent with Cochrane's guidance on linking reports.
- Your search and selection are documented. PRISMA 2020 provides a reporting checklist and flow-diagram templates for transparent reporting of search, selection, and synthesis methods; use it as a structural check on what you have recorded.
- The comparison reads cleanly. A reader can see how studies differ without opening a single PDF.
If any check fails, you know exactly which artifact to fix.
Which artifact should you build first?
Build the extraction form first whenever you are reading more than a handful of studies, working with a co-author, or expect anyone to ask for a specific reported value. Build the evidence table first only when your included set is small, already well understood, and the immediate need is a comparison view for a supervisor or examiner.
When in doubt, extract first. The table is easier to build from complete forms than the forms are to reconstruct from a compressed table.
Your next concrete action
Open your current project folder and write two lists: the fields you need to compare across studies, and the fields you need to capture per study. The first list becomes your evidence table columns; the second becomes your extraction form. Then run one search with your eligibility criteria in hand using WisPaper search, save the results you keep in My Library, and fill your first extraction form today. That single completed form is the smallest unit of a review you can trust.
FAQs
Keep Reading

Finding Research Gaps: Questions, Evidence, and Common Mistakes
A research gap is not a blank space on a topic map. It is a specific, defensible claim that the existing evidence does not adequately answer a question that matters for a defined population and outcome. Clinicians and me

Google Scholar vs. PubMed for a Literature Review: A Decision Guide for Your Next Project
You have a draft in front of you—a course paper, a thesis chapter, or a first manuscript—and a supervisor's comment in the margin that says something like "broaden the literature" or "where is the evidence for this claim
Half Your Search Results Are Duplicates: A Practical Workflow for a Clean Evidence Brief
You run a search for a focused clinical question, export the records, and start screening. By the twentieth title you notice the same trial appearing three times: once as the primary report, once as a follow-up, and once