
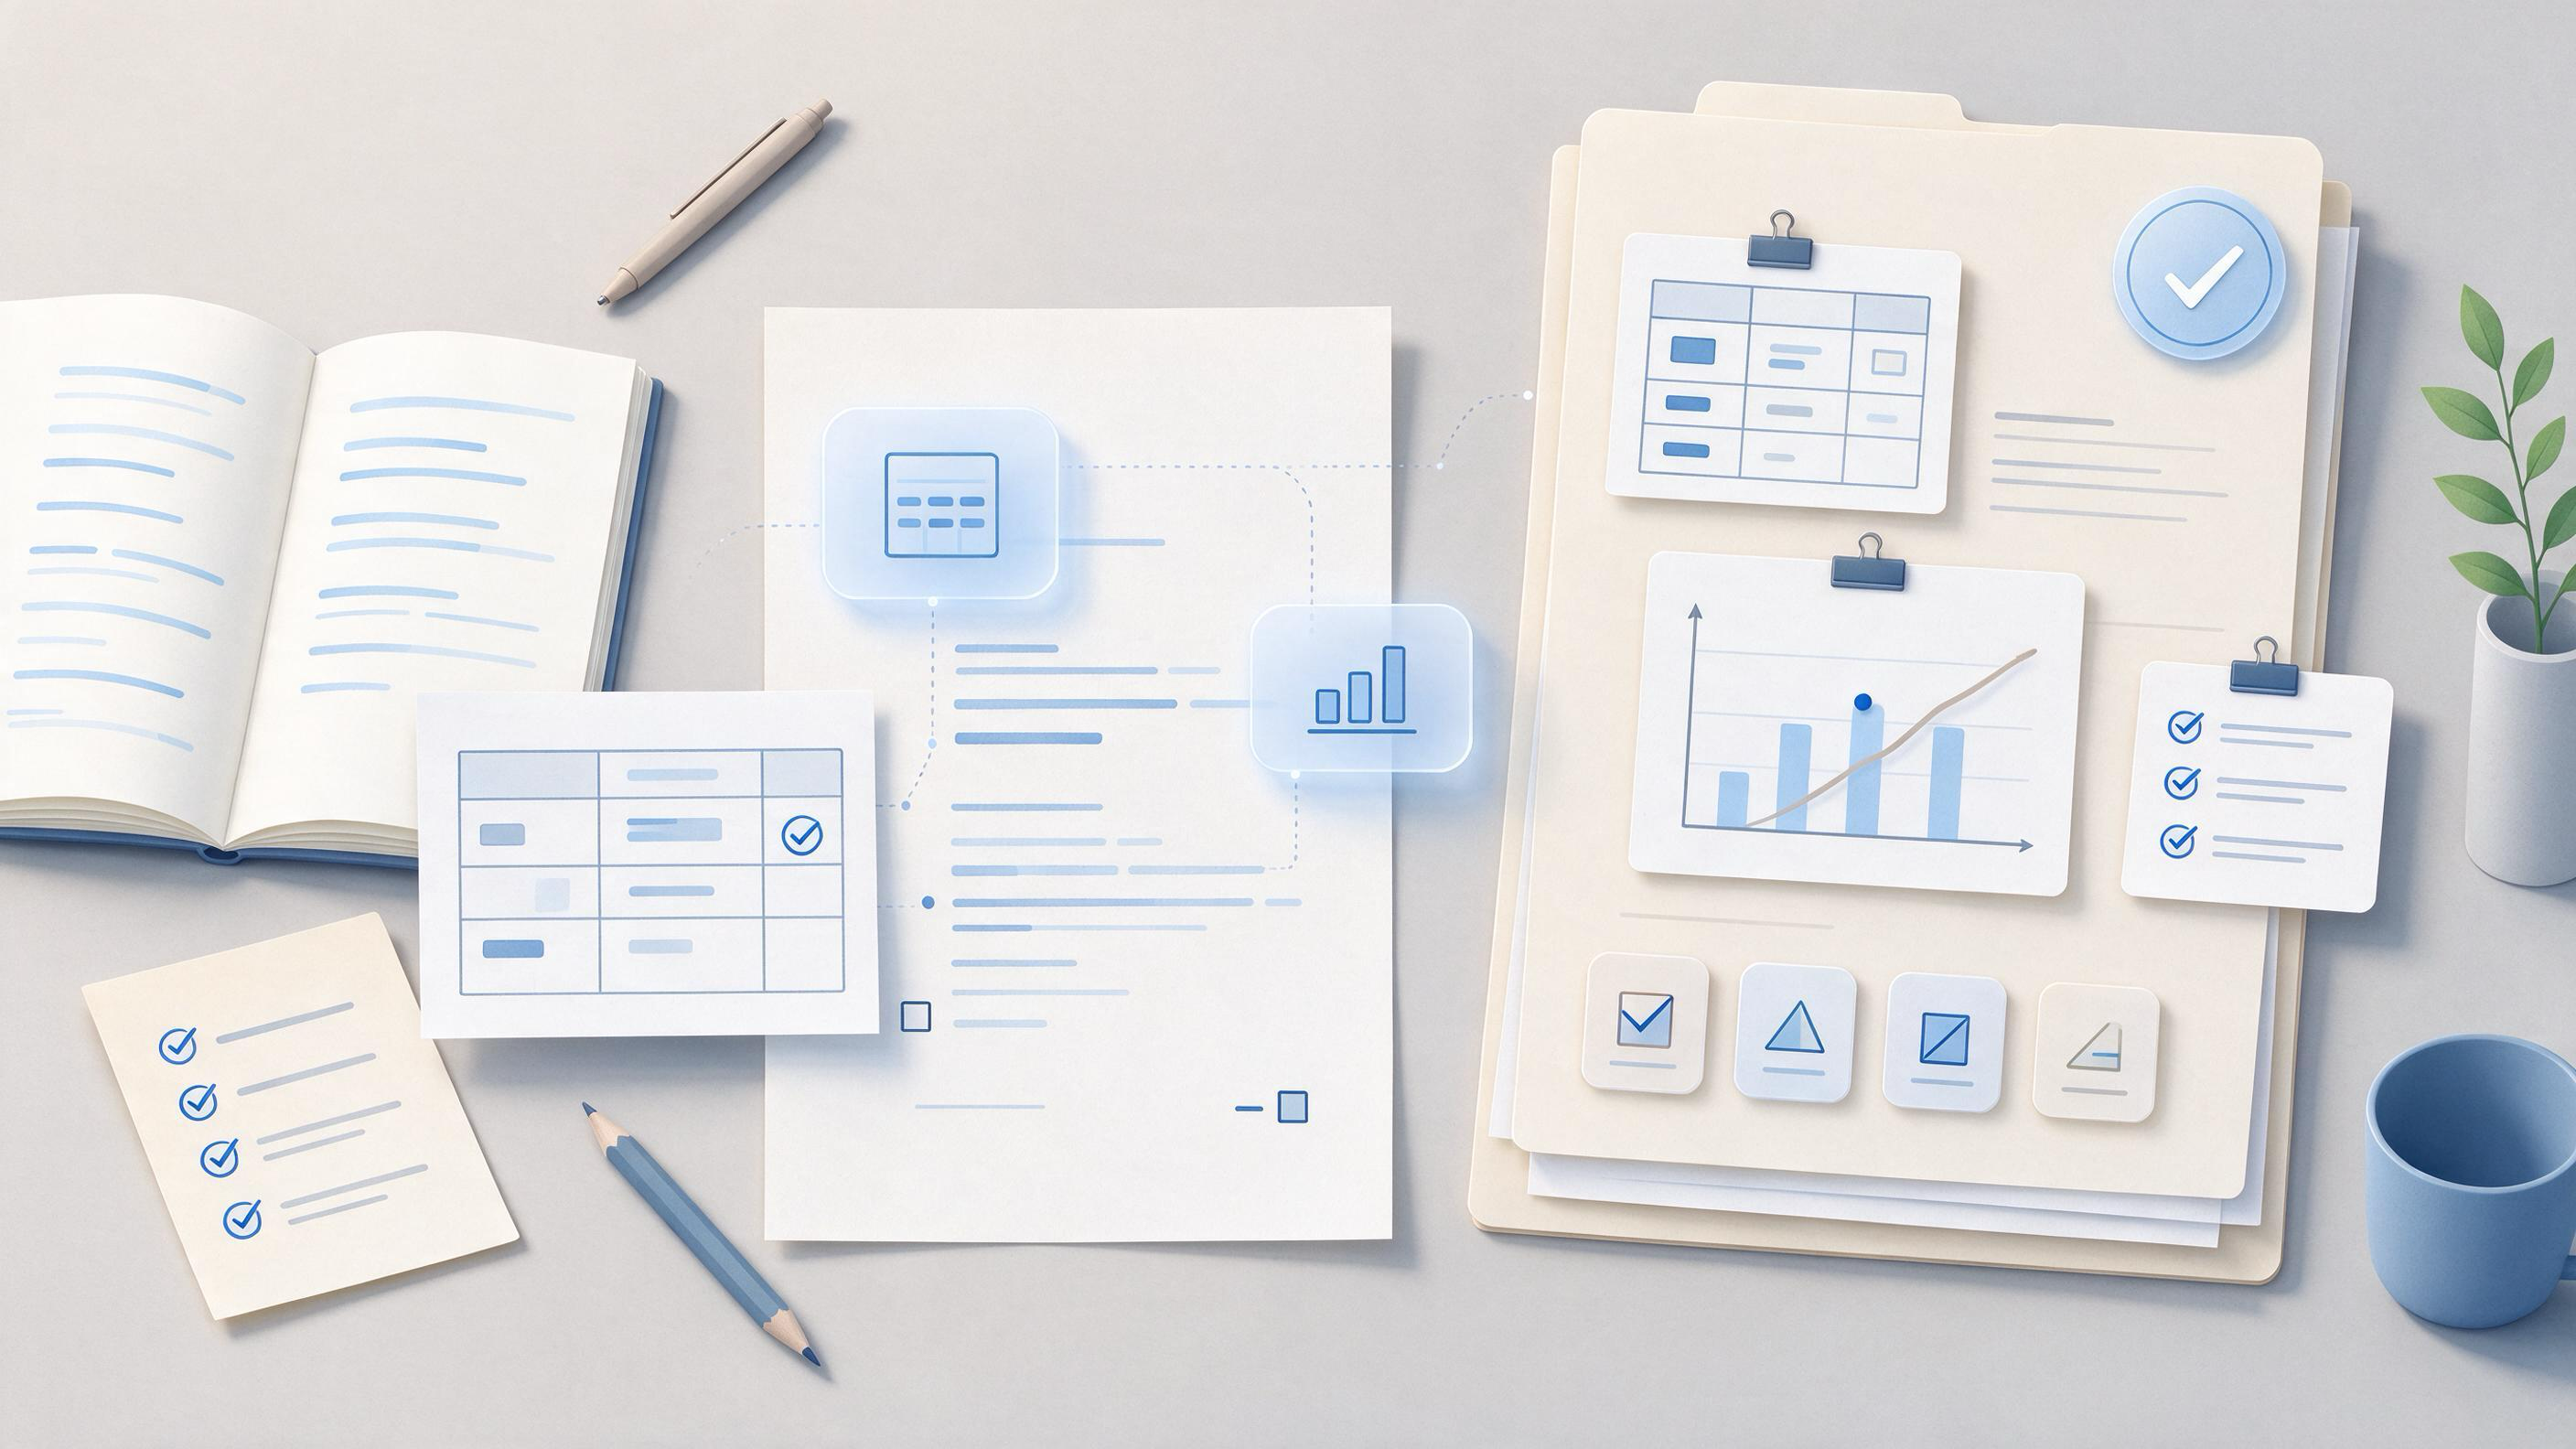
A manuscript can be rejected or sent back for revision because a table’s footnote contradicts the text, a figure omits the sample size, or a statistical abbreviation is used without definition. The fastest way to avoid this is to work through submission artifacts in the same order a production editor will inspect them: report text against display items, display items against each other, and the whole package against the journal’s current instructions. This guide walks through that sequence for researchers closing a revision, handing a project to a coauthor, or doing a year-end reset before starting a new review.
What Should You Check Before You Open a Single Table or Figure?
The starting state matters. If you are revising after peer review, check the reviewer letter and your response document first, because a figure that was correct in the first submission may now be out of sync with a changed result. If you are handing off to a coauthor, freeze the manuscript version first so both people inspect the same file. If you are preparing a fresh submission, begin with the journal’s current instructions and the reporting standard that matches your design.
Three external authorities define what a ready package contains. The ICMJE Recommendations describe the standard parts of a biomedical manuscript and direct authors to follow the selected journal’s current instructions for article type, format, required statements, and submission materials. The EQUATOR Network organizes reporting guidelines by study type and specialty so authors can choose a checklist that matches the design they are reporting. APA JARS provides design-specific modules for quantitative, qualitative, and mixed-methods research so readers can evaluate how a study was conducted and analyzed. Your first checkpoint is not visual polish; it is that you have identified the correct checklist and journal instructions for your study type.
Which Checklist Applies to Your Study Design?
Start by naming your design precisely: randomized trial, cohort study, qualitative interview study, or mixed methods. Then select the matching reporting guideline. A guideline is not a proofreading list; it is the minimum information a reader needs to evaluate your design and analysis. Keep the checklist side by side with your draft, and mark each item as satisfied, partially satisfied, or not applicable.
Two common failures happen before inspection begins. The first is using a generic checklist when the journal expects a design-specific module. The second is reusing a checklist from an earlier project with a different design. The fix is deliberate: record the design, the guideline, and the checklist version in one place, ideally in the same project where the manuscript lives. If you are setting up the check inside a shared workspace, you can create a new research project so the checklist and the manuscript version stay together.
How Do You Verify That Every Number in the Text Matches a Table or Figure?
Work from the text outward. Read each results sentence and note every number it contains: means, standard deviations, confidence intervals, p-values, sample sizes, and percentages. Then locate that number in a table or figure. The rule is one-to-one: every number reported in the prose must appear in a display item, and every display item the prose cites must exist.
A quick audit method is to print the results section and use one highlighter for values that appear in the text and in a table, and another for values that appear in only one place. Any value highlighted in only one color needs a decision. Either the text must cite the table, the table must gain the value, or the prose statement must be narrowed so it does not claim more than the display shows.
What Should Each Table Communicate on Its Own?
A table must be interpretable without reading the surrounding prose. Check that the title names the population, design, and analysis. Check that every column and row has a defined unit, that missing data are marked with the same symbol everywhere, and that footnotes define all abbreviations and explain all symbols.
Look especially at decimal consistency, the alignment of numeric columns, and the meaning of dashes. A dash can mean zero, missing, or not applicable, and a reader cannot tell which without a note. If the journal instructions specify table formatting, follow that exactly rather than a default generated by your software.
What Should Each Figure Communicate on Its Own?
A figure fails readiness when a reader cannot state its single point without the caption. Check that each axis is labeled with the variable and unit, that error bars are defined in the caption or figure legend, that sample size appears where it matters, and that the figure does not misrepresent variability by truncating an axis.
Captions are part of the figure package, not decoration. Check that the caption states what was plotted, for whom, with what measure of variability, and in what sample. If a reviewer asked a question about a figure in the previous round, the caption is usually the cheapest place to answer it.
How Do You Catch Contradictions Between Tables and Figures?
After checking each display item alone, compare them against each other. The same group should have the same sample size in every table and figure where it appears. The same variable should use the same abbreviation, unit, and decimal precision throughout. If Figure 1 reports n=217 but Table 1 reports n=214, that mismatch must be resolved before submission, even if the text is internally consistent.
A useful sequence is to build a small concordance sheet: list the key groups, outcomes, and sample sizes down the left side, and the tables and figures across the top. Fill each cell with the value shown. Any row where the cells disagree points to a specific fix.
How Do You Preserve the Evidence Trail While Revising?
Revision changes numbers, categories, and references. The risk is that you fix one display item and lose the chain showing why the earlier version looked the way it did. Keep the old figure, the data used to generate it, and the analysis script dated and associated with the specific version they supported. When you generate a new figure, note which manuscript version it belongs to and which data file produced it.
For the reference list, the same kind of auditable check applies. A submitted manuscript can be delayed because a reference does not resolve to a real paper or because a BibTeX entry contains a citation that cannot be verified. TrueCite is built for this step: it checks BibTeX against real academic databases to flag references that cannot be matched to real records. Run it before the final reference pass, then resolve each flagged entry against your source records.
Where Should the Whole Check Happen?
A scattered check across folders and email threads is hard to audit and easy to repeat incorrectly. Organize the inspection around the manuscript itself. If you are building the revision inside a shared project, keep the design checklist, concordance sheet, versioned figures, and reference records in one place so the tables, figures, and the method trail they depend on do not live in separate inboxes.
When the figures depend on a group of papers you gathered during the review, keep that source set available rather than relying on memory of what each paper showed. If you need to re-verify a statistic or a definition behind a table, Library QA lets you ask questions based on papers saved to My Library or added from search results. That keeps the verification anchored to the documents you actually used, and you can organize those documents in My Library before you begin the question pass.
How Do You Know the Package Is Ready?
Readiness is a checklist outcome, not a feeling. The package is ready when all five of these are true: the journal instructions and reporting guideline are identified and versioned; every text-reported number is located in a table or figure and vice versa; every table and figure survives a standalone reading test; the concordance sheet shows no contradictions across display items; and the reference list has passed a verification pass. Mark completion only when all five hold for the same manuscript version.
If the reference pass depends on finding a paper you cited from memory, run a search against the scholarly literature before you close the package. WisPaper search lets you look up academic papers directly, which keeps the final bibliography tied to records you can actually open rather than a half-remembered citation.
A coauthor handoff also needs an explicit completion note: which checklist was used, what changed since the last version, which figures were regenerated, and where the supporting data and references live. That note is what lets the next person continue rather than redo the inspection.
FAQs
Keep Reading
How to Check Terminology Consistency Across a Manuscript
Terminology inconsistency is one of the quietest reasons a manuscript stalls in peer review. A paper may use *myocardial infarction* in the abstract, *heart attack* in the methods, and *MI* in the results. Each term is d
How to Check That Every Reviewer Comment Was Addressed
You have finished the hard part of a revision: the rewritten methods section, the new figure, the added sensitivity analysis, and the point-by-point letter. The remaining risk is quieter and more damaging. A reviewer com
How to Check Whether a Journal Fits Your Manuscript
Most rejection letters are not a verdict on your science. They are a verdict on the match between a manuscript and a journal. A strong paper sent to the wrong outlet looks underdeveloped, while an average paper sent to t