
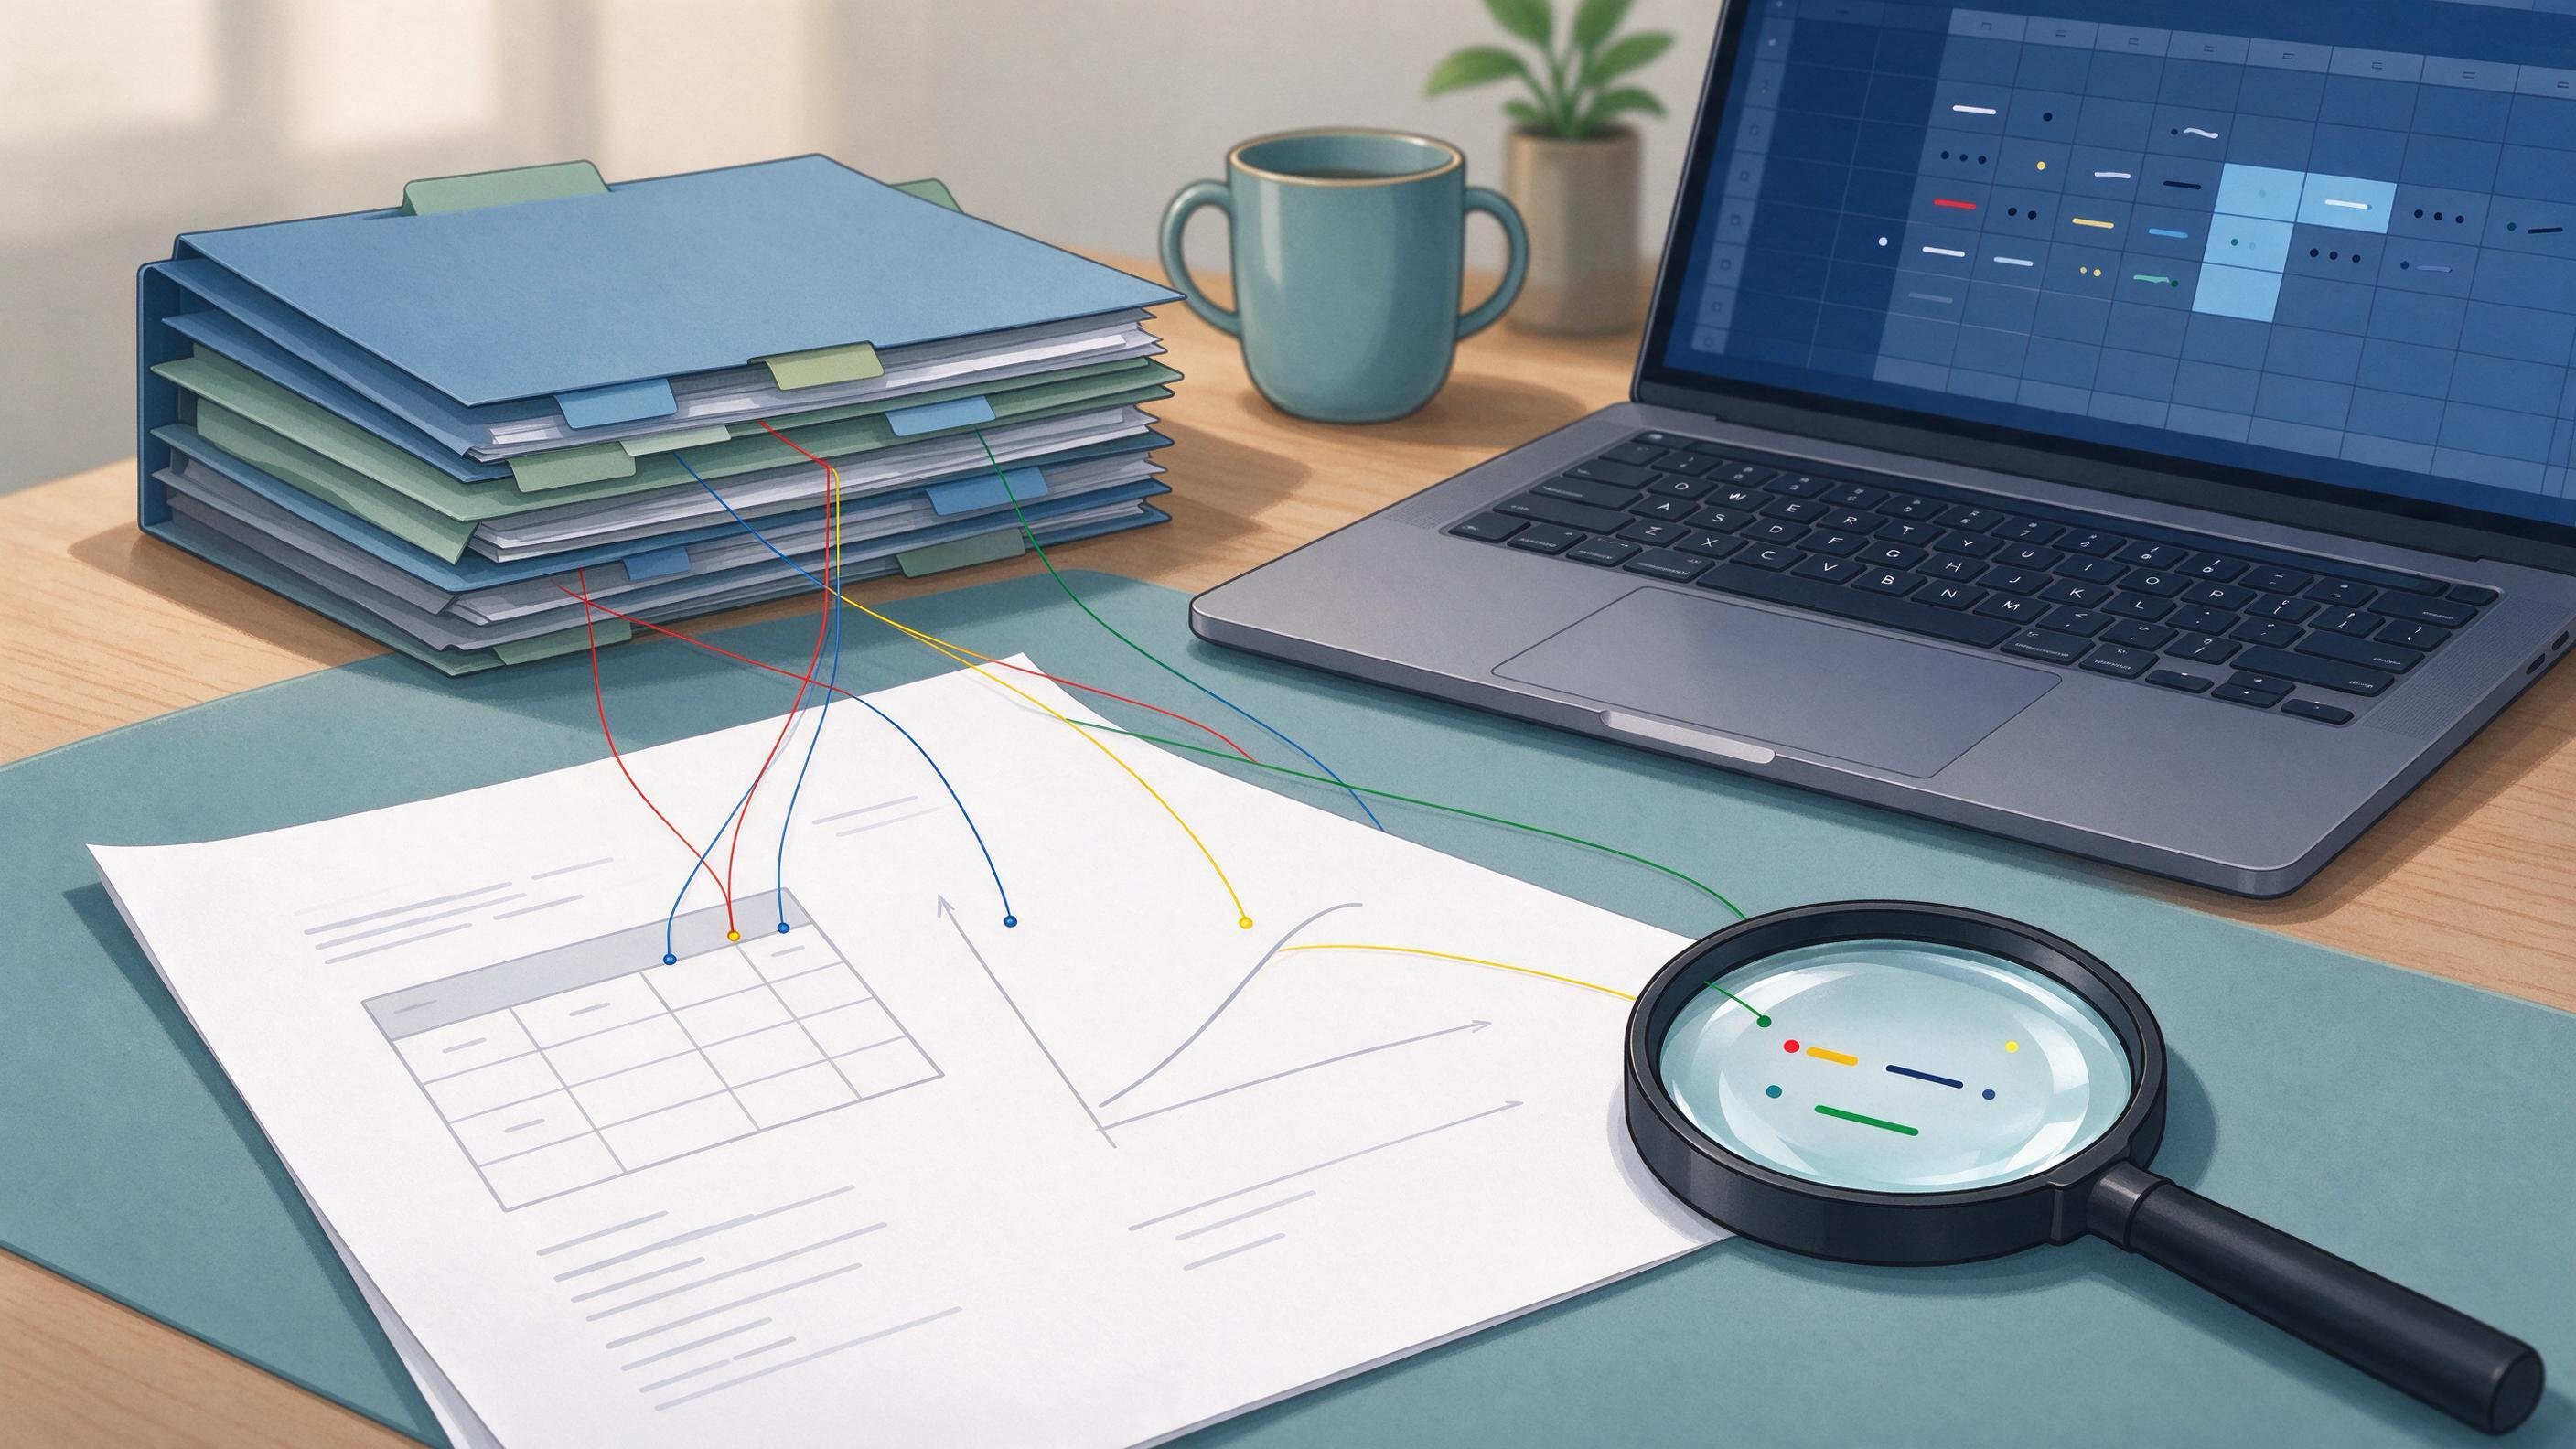
A table or figure in a manuscript is a claim compressed into rows, axes, or a schematic. When a coauthor, reviewer, or future lab member asks "where did this come from?", the answer needs to be a traceable path from the displayed item back to the underlying study, dataset, or analysis decision. This guide gives you a practical sequence for checking that source, preserving the evidence trail, and knowing when the check is complete.
Start by diagnosing what kind of source problem you have
Before opening files, classify the item. A table or figure usually falls into one of four source situations:
- Primary data from your own study. The source is a dataset, analysis script, or instrument export. The check is about version, filtering, and calculation.
- A published study you are reproducing or adapting. The source is a paper, supplement, or repository. The check is about locating the exact table, figure, or number and confirming how it was derived.
- A review synthesis. The source is a set of included studies. The check is about linking each row or panel to a specific report and eligibility decision.
- A conceptual or illustrative figure. The source is a model, schematic, or prior figure. The check is about attribution and permission, not numerical replication.
Write one sentence for each table or figure: "This item shows X, derived from Y, for the purpose of Z." If you cannot fill in Y, that is the first gap to close. This diagnostic step mirrors the rigor guidance from NIH, which treats careful assessment of prior knowledge, strengths, weaknesses, and knowledge gaps as part of rigorous practice.
Build a source map before you edit anything
A source map is a simple inventory that connects every displayed item to its evidence. Create it as a spreadsheet or table with one row per table or figure. At minimum, record:
- Item ID and current manuscript location
- What the item claims to show
- Underlying study, dataset, or report
- File path or repository identifier
- Person who produced or last edited the item
- Date and version
- Known limitations or open questions
This map is the artifact you will hand to a coauthor or reviewer. It also becomes the backbone of your methods reporting. PRISMA 2020 emphasizes transparent reporting of search, selection, and synthesis methods, and a source map is the local version of that transparency for your own manuscript.
If you are starting a new review or project, create the map before drafting. If you are revising an existing manuscript, create it from the current draft and mark every item you cannot trace. Those marks are your worklist.
How do you trace a table back to its underlying study?
Work from the most specific identifier outward. For a table row, the sequence is usually:
- Locate the in-text citation or footnote attached to the table. If there is none, check the table title and legend.
- Open the cited report and find the corresponding table, figure, or number. Do not rely on the abstract alone.
- Check the supplement and data availability statement. Many tables are derived from supplementary files rather than the main text.
- Confirm the population, time point, and unit. A number can match while the underlying definition differs.
- Record the exact location — page, table number, or repository file — in your source map.
If the cited report is not the original source, follow the chain until you reach the primary study or dataset. Cochrane guidance on linking multiple reports of one study is useful here: the same study may appear in several reports, and your table may draw on one report while your citation points to another.
When you need to find the underlying paper from a partial citation or a remembered finding, use a scholarly search interface rather than a general web search. WisPaper search lets you look for academic papers through a scholarly search interface, which is the right starting point when you need to identify the report behind a table. Save the candidate records you find so the trail does not disappear into browser history.
How do you trace a figure to its data and code?
Figures are harder than tables because the transformation from data to image is often undocumented. Use this sequence:
- Identify the figure type. Is it a plot of primary data, a schematic, a micrograph, or a composite?
- Find the data file. Check the project folder, repository, or supplement. If the figure was made from a subset, find the filtering script or query.
- Find the code or notebook that generated the figure. If none exists, ask the person who made it to describe the steps and record that description.
- Re-run or re-plot the figure from the source data and compare axes, labels, and values.
- Record the version of the data and code used.
For composite figures, repeat this for each panel. A single source map row per panel is often clearer than one row for the whole figure.
If the figure comes from a published paper you are reproducing, PaperClaw supports research-paper reproduction planning from an uploaded PDF and reproduction instructions. That is useful when you need to move from "this figure shows X" to a documented plan for reproducing the analysis behind it.
What belongs in an auditable evidence trail?
An auditable trail lets someone who was not in the room reconstruct your check. Include:
- Search and selection records. For reviews, document the sources you searched, the terms you used, and the screening decisions. Cochrane recommends planning searches from eligibility criteria, using multiple sources, combining free-text terms with subject headings, documenting the process, deduplicating records, and screening in stages.
- File and version identifiers. Record file names, repository commits, or dataset versions.
- Decision notes. Write short notes explaining why a source was accepted, replaced, or excluded.
- Correspondence. If a coauthor supplied a number or figure, keep the message or a summary of it.
- Open questions. List what you could not verify and what you did about it.
Store this trail where the project lives, not in a personal downloads folder. Research Projects gives you a project area for organizing this work, and My Library lets you save or upload papers and organize them alongside the project. The goal is that a coauthor can open one place and follow the same path you did.
Worked example: checking a table in a revised manuscript
Suppose a manuscript includes a table comparing effect sizes across five studies. A reviewer asks whether the third row is correct.
Step 1 — Diagnose. The table is a synthesis of published studies. The source problem is a review-synthesis problem.
Step 2 — Build the row record. The source map row lists the study, the cited report, the effect size, and the person who extracted it.
Step 3 — Trace the citation. The cited report is a secondary analysis. Following the chain leads to the primary trial report and its supplement.
Step 4 — Compare definitions. The primary report defines the outcome at a different time point than the table. The number matches, but the label does not.
Step 5 — Correct and document. Update the table label, record the correction in the source map, and note the change in the response to the reviewer.
Step 6 — Check the citation layer. Before resubmission, screen the BibTeX entries for the table's references. TrueCite checks BibTeX against real academic databases to flag hallucinated references, which is a useful final pass when references were assembled quickly or inherited from an earlier draft.
Step 7 — Preserve the trail. Save the corrected table, the source map, and the reviewer response together in the project area so the next revision starts from a known state.
How do you check a review table or forest plot?
Review tables and forest plots add a layer: each row or study estimate must connect to an included report and an eligibility decision. Use this sequence:
- Match each row to an included study in your selection records.
- Confirm the report version. If multiple reports exist for one study, state which one supplied the estimate.
- Check the extraction form for the row and compare it with the published report.
- Verify the synthesis inputs — sample sizes, effect sizes, and confidence intervals — against the extraction form.
- Re-run the synthesis if the software and data are available, and compare the output with the displayed figure.
- Update the search before publication if your review is nearing submission, as Cochrane recommends rerunning searches before publication.
PRISMA 2020 flow-diagram templates are useful here because they force you to account for records at each stage. If your row cannot be traced to a record in the flow, the trail has a break.
Where does an AI research assistant fit without replacing the trail?
An AI research assistant is most useful at the points where you need to find, organize, or interrogate sources — not as a substitute for the source map. Use it to shorten the distance between a question and a candidate source, then record what you used.
- Finding candidate papers. Use WisPaper Scholar Search when you need a public entry point for finding academic papers behind a table or figure.
- Asking questions across saved papers. Library QA lets you ask questions based on papers uploaded to My Library or added from search results. This is useful for locating which saved paper discusses a particular outcome, but the answer still needs to be checked against the paper itself.
- Longer literature tasks. Scholar Agent supports longer research tasks in WisPaper's literature review, inspiration, or reproduction use cases. Use it when the source check expands into a broader review of the evidence around a figure.
- Generating follow-up directions. If the check reveals a gap that suggests a new study, Idea Discovery takes research topics, background, references, and experimental constraints to generate research ideas.
Each of these tools produces candidates or summaries. Your source map remains the record of what you verified.
What does "ready" look like? Completion criteria
A source check is complete when all of the following are true:
- Every table and figure has a source map row with a named underlying study, dataset, or report.
- Every cited source has been opened and the specific location recorded.
- Every number or panel has been compared with the source definition, not just the value.
- Every correction is documented in the source map and, where relevant, in the response to reviewers.
- The evidence trail — search records, extraction forms, file versions, and decision notes — is stored in one project location.
- A coauthor who was not involved can follow the trail from the displayed item to the source without asking you for missing files.
If any criterion fails, the item is not ready. Mark it and continue.
A reusable checklist for each table or figure
| Check | Question | Record |
|---|---|---|
| Claim | What does this item show? | One-sentence claim |
| Source | Which study, dataset, or report? | Full citation or file ID |
| Location | Where exactly in the source? | Page, table, figure, or file |
| Definition | Do population, time point, and unit match? | Yes/No and note |
| Derivation | How was the value or image produced? | Script, query, or description |
| Version | Which data and code versions? | Commit or file version |
| Decision | Why was this source accepted or replaced? | Short note |
| Owner | Who last verified it? | Name and date |
| Open question | What remains unresolved? | Note and next action |
Use one row per table or figure, and one row per panel for composites.
How do you hand off a checked source trail to a coauthor or lab?
A handoff is a test of the trail. Prepare a short handoff note that includes:
- The source map file and its location.
- The list of items checked and items still open.
- The search and selection records for any review component.
- The version of the manuscript the map corresponds to.
- The next action for each open item.
Walk the coauthor through one item end to end. If they can repeat the path without your narration, the trail is usable. If they cannot, the missing step is your next task.
For lab handoffs, add a note on where the raw data and code live and who has access. For peer review, keep the response-to-reviewer letter linked to the same source map so the correction history is visible.
FAQs
Keep Reading
How to Check Whether a Research Paper Has Been Retracted
A retraction check is a verification task, not a single lookup. The reliable answer comes from combining several sources, recording what each one showed on the day you checked, and keeping that record with the manuscript
How to Cite a Paraphrase Without Losing the Original Meaning
Paraphrasing is where citations most often drift. You restate a source in your own words, the sentence reads cleanly, and the original claim quietly changes shape — a hedged finding becomes a firm one, a single-study res
How to Clean a BibTeX File Before You Submit
A BibTeX file is not a bibliography yet. It is a working ledger of every reference you considered, imported, or inherited, and by submission time it usually contains duplicates, half-filled fields, inconsistent keys, and