
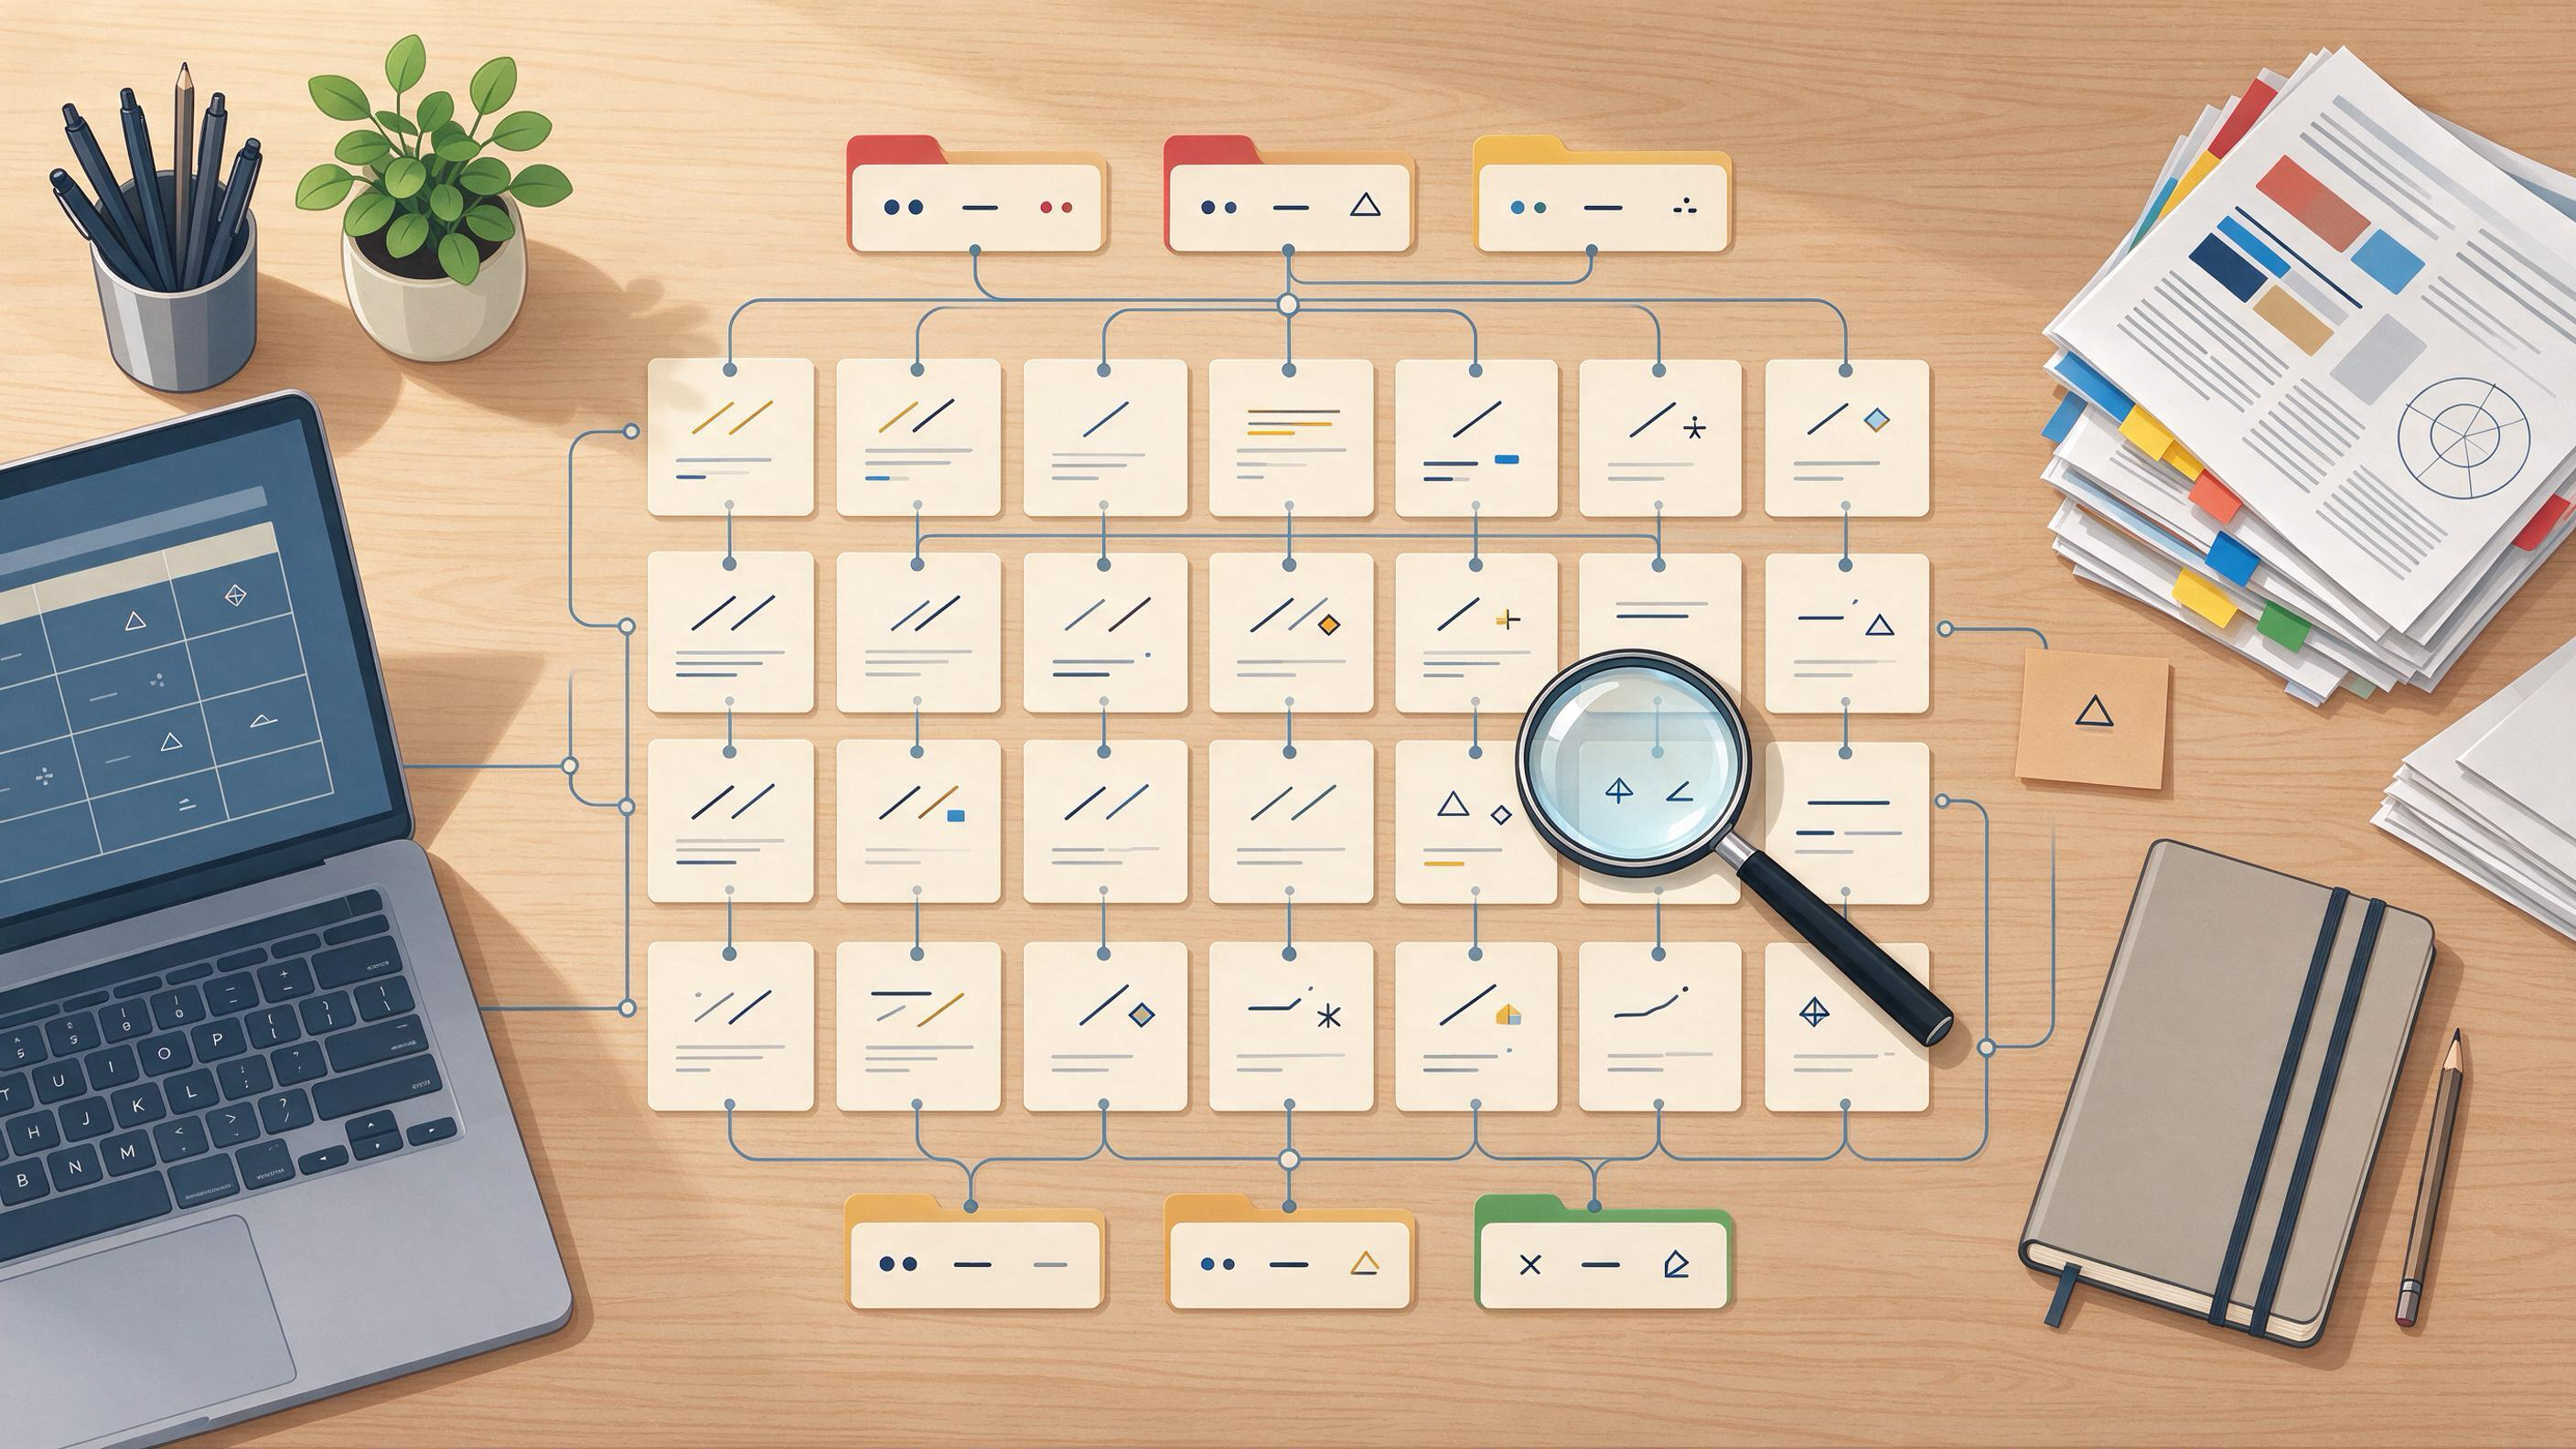
Organizing research papers for a thesis means turning a pile of PDFs and half-remembered citations into a structured, documented evidence base that maps onto your chapters. The practical answer is a repeatable pipeline: define what counts as eligible evidence, search systematically, deduplicate and screen in stages, file each paper under the claim it supports, and keep a citation record you can verify before submission. This guide walks through that pipeline with checkpoints, a worked example, and a reusable checklist.
Diagnose your starting state before you reorganize anything
Most thesis organization problems are not filing problems. They are decision problems. Before you rename a single PDF, identify which of these states you are in:
- The open-ended pile. You have dozens of downloads and no record of why each one was saved. You need eligibility criteria and a screening log more than you need folders.
- The chapter gap. Your literature review is drafted, but one chapter's claims are thinly supported. You need targeted searching and a claim-to-paper map for that chapter only.
- The feedback loop. A supervisor has returned comments asking where a claim comes from or why a study was included. You need traceability: search records, screening decisions, and verified citations.
- The cleanup. You are between projects — a winter break, a semester boundary — and want the next project to start from a clean base rather than a fresh pile.
Write one sentence describing your state and one sentence describing what "organized" will look like when you are done. For a thesis chapter, that might be: "Every empirical claim in Chapter 2 has at least one screened paper attached, and every citation in the reference list resolves to a real record." That sentence becomes your readiness test later.
Step 1: Turn your research question into eligibility criteria
Cochrane's guidance on searching for studies starts from eligibility criteria, not from keywords. That order matters for a thesis too: decide what a paper must be to count as evidence before you search, so screening later is mechanical rather than agonizing.
Write criteria in three lines:
- Population or object of study — what must the paper be about?
- Study type or evidence type — empirical study, review, methodological paper, theoretical treatment?
- Boundaries — date range, language, publication status, or disciplinary scope you will accept.
Keep the criteria visible in the same document as your search log. When a supervisor asks why a paper was excluded, the answer should be a criterion, not a memory.
Checkpoint: You can state, in one sentence each, what will be included and what will be excluded. If you cannot, stop and write the criteria before searching.
Step 2: Search systematically and record what you did
Cochrane recommends planning searches from eligibility criteria, using multiple sources, combining free-text terms with subject headings, and documenting the process. PubMed's user guide shows how a structured database supports this: field tags, phrase searching, filters, Advanced Search, saved searches, and search details that reveal how terms were translated and combined. Google Scholar's help documents author and title searching, date limits and sorting, Cited by and Related articles, citation export, and email alerts.
A practical thesis search routine:
- Build a term list from your criteria: core concepts plus synonyms, and subject headings where the database supports them.
- Run the same logic across more than one source. A general scholarly index and a discipline-specific database behave differently.
- Save the search or record the exact query string, the database, the date run, and the number of results.
- Use citation chaining deliberately: Cited by and Related articles in Google Scholar, Similar Articles in PubMed.
- Set an alert for your core query so new records surface while you are still writing.
If you want a scholarly search interface to run and refine these queries, WisPaper search is the entry point for finding academic papers; readers who want a public overview of the search capability can start from WisPaper Scholar Search.
Checkpoint: Your search log has at least two sources, the exact queries, and dates. If you cannot reproduce a search, it is not yet documented.
Step 3: Deduplicate and screen in stages
Cochrane's process includes deduplicating records, screening in stages, and linking multiple reports of one study. Apply the same discipline at thesis scale:
- Deduplicate. The same paper often appears in several databases, as a preprint and a published version, or as a conference and journal report. Collapse these into one record with all versions noted.
- Screen titles and abstracts against your criteria. Record include, exclude, or maybe for each.
- Screen full texts for the maybes and for anything you intend to cite.
- Link reports. If two papers describe one study, file them together so your thesis does not double-count the evidence.
Keep a screening log with columns for record ID, source, decision, criterion applied, and date. This log is the artifact that answers supervisor questions about inclusion.
Checkpoint: Every record in your pile has a decision and a reason. Records without a decision are not yet screened.
Step 4: File papers by the claim they support, not by topic label
Topic folders ("motivation," "methods," "background") feel tidy but fail at drafting time, because a single paper often supports several different sentences. File by claim instead.
Build a claim-to-paper map: a table with one row per claim you intend to make and columns for the supporting paper, the specific finding used, the page or section, and the citation key. A paper can appear in several rows. This map is what you draft from, and it is also your gap detector: rows with no paper are the sections that still need searching.
For the papers themselves, save them into a working library rather than a downloads folder. My Library is where you can save or upload papers and organize them, so the claim map and the PDFs stay in one place. Once papers are in the library, Library QA lets you ask questions based on the papers you have uploaded or added from search results — useful when you need to check what a specific paper actually says before writing the claim.
Checkpoint: Every row in your claim map has a paper, a location, and a citation key, or is flagged as a gap.
Step 5: Verify citations before they enter the reference list
Citation errors compound: one wrong entry propagates into every draft, every chapter, and the final submission. Treat the reference list as an artifact that gets checked, not a byproduct of drafting.
- Export citation records from the source where possible; Google Scholar and PubMed both support citation export and lookup.
- Keep a single BibTeX file as the source of truth, and generate the reference list from it rather than editing references by hand.
- Screen the BibTeX file against real academic databases before submission. TrueCite is built for BibTeX citation screening, checking entries against real academic databases to flag hallucinated references.
Checkpoint: Every citation key in your claim map resolves to an entry in the BibTeX file, and the file has been screened.
Step 6: Use a project workspace for the writing phase
Once searching and screening settle down, the work shifts to drafting and to the next project. Keep the thesis as one workspace with its search log, screening log, claim map, library, and BibTeX file together. Research Projects is the WisPaper area for creating and running a project, which suits a thesis chapter or a follow-on manuscript that reuses the same evidence base.
For longer research tasks — a literature review section, a new direction after the thesis — Scholar Agent covers literature review, inspiration, and reproduction use cases. If the next step after the thesis is generating a new research direction from your topic, background, references, and experimental constraints, Idea Discovery is built for that workflow. If you need to plan reproducing a paper from an uploaded PDF, PaperClaw supports reproduction planning from the PDF and reproduction instructions.
Checkpoint: A new reader — or your future self after a break — can open the workspace and find the question, the criteria, the searches, the screening decisions, the claim map, and the verified citations without asking you anything.
Worked example: a winter-break cleanup that becomes a January project start
Suppose a master's student finished a coursework paper in December and starts a thesis chapter in January. The December pile is 60 PDFs, a reference list assembled by hand, and no record of why anything was saved.
- Diagnose. State: open-ended pile. Done looks like: every claim in the January chapter outline has a screened paper and a verified citation.
- Criteria. Write three lines: the phenomenon studied, empirical or review evidence accepted, and a date range.
- Search. Run the core query in two sources, save the query strings and dates, and set an alert. Add citation chaining from the two most central papers.
- Deduplicate and screen. Collapse duplicate versions, screen titles and abstracts, then full texts. Log every decision.
- File by claim. Draft the chapter outline as claims, then fill the claim map. Save the included papers in My Library and use Library QA to confirm what each paper says before writing the sentence it supports.
- Verify. Export the BibTeX, screen it with TrueCite, and fix flagged entries.
- Open the project. Create the January workspace in Research Projects and move the logs, map, and BibTeX into it.
By the first week of January the student is drafting from a claim map instead of re-reading 60 PDFs, and the December work carries forward instead of being redone.
Reusable checklist
| Stage | Artifact | Ready when |
|---|---|---|
| Diagnose | One-sentence state and one-sentence done definition | Both sentences exist |
| Criteria | Three-line eligibility statement | Include and exclude are stated |
| Search | Search log with sources, queries, dates | At least two sources, reproducible |
| Screen | Screening log with decisions and reasons | Every record has a decision |
| File | Claim-to-paper map | Every claim has a paper and location, or is a flagged gap |
| Verify | Single BibTeX file, screened | Every citation key resolves and the file is checked |
| Workspace | Project with all artifacts | A new reader can navigate it unaided |
Stop and escalation rules
- Stop searching when a full pass of your core query returns only records you have already screened, and every claim in your current chapter outline has support. More searching past that point adds pile, not evidence.
- Escalate to your supervisor when a claim you need is contested across papers, when your criteria exclude the only available evidence, or when a screening decision is genuinely borderline. Bring the claim map row and the screening log entry, not the PDF alone.
- Escalate to a librarian or methods advisor when you cannot construct a query that retrieves known relevant papers, or when database coverage for your discipline is unclear.
- Stop drafting on any section whose claim map row is a gap. Search or narrow the claim first.
- Stop and re-screen if you change your eligibility criteria mid-project; earlier decisions were made under different rules.
How to know the result is ready
Your organization is ready when four tests pass. First, reproducibility: someone else could rerun your searches from the log. Second, traceability: every claim in the draft maps to a screened paper and a location. Third, citation integrity: the BibTeX file has been screened and every key resolves. Fourth, navigability: the workspace holds the question, criteria, searches, screening decisions, claim map, and verified citations in one place. If any test fails, the corresponding stage above tells you where to return.
FAQs
Keep Reading
How to Plan the First Search for a New Thesis Topic
A new thesis topic rarely arrives fully formed. More often you have a rough direction, a supervisor's comment, or a folder of half-read papers, and you need to find out whether the topic is real, crowded, or still open.
How to Prepare a Clean Source Pack for a Coauthor
A source pack is the bundle of records, files, and notes that lets a coauthor see exactly what you searched, what you kept, what you set aside, and why. A clean pack answers those questions without a meeting. It is the d
How to Prepare a Clinical Evidence Brief for a Team Meeting
A clinical evidence brief is a short, decision-oriented document that tells a team what the evidence says about a focused question, how strong and how applicable that evidence is, and what the team should discuss next. P