
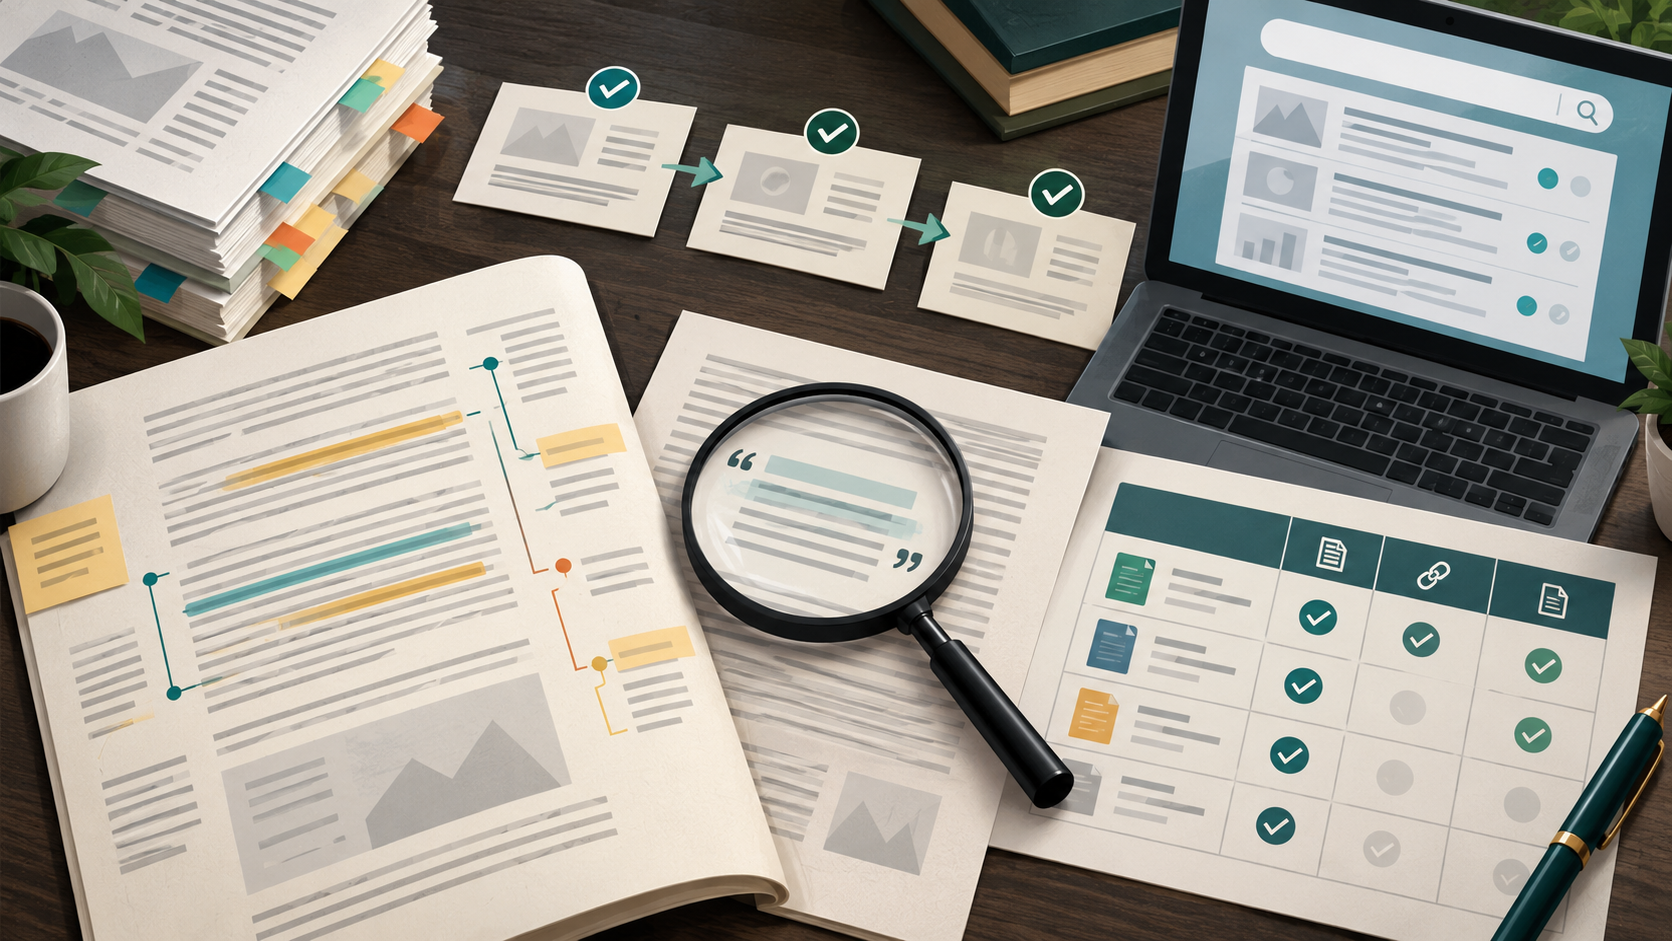
AI search can get you to a plausible-looking reference in seconds. The harder question is whether that reference, and the claim you attach to it, will survive a reviewer who opens the PDF. This guide lays out a verification workflow you can run at the desk: plan the search, capture how it was run, check notes against the source, verify citations, keep provenance attached to every claim, and assemble an evidence matrix that a co-author or reviewer can audit. It is written for researchers preparing a manuscript, responding to peer review, or assembling an evidence summary for a grant.
The workflow is built around one principle drawn from reproducibility guidance: transparent methods and careful assessment of prior knowledge are part of rigorous practice, not an afterthought. Verification is therefore a sequence of recorded steps, not a final proofread.
The verification problem in one paragraph
AI-assisted search changes the cost of finding papers, but it does not change what a manuscript must show: that the evidence behind each claim exists, says what you say it says, and was found through a process someone else could repeat. Cochrane's search guidance is explicit that searches should be planned from eligibility criteria, drawn from multiple sources, documented, deduplicated, and rerun before publication. NIH rigor guidance treats transparent methods and reproducibility as core. Both point to the same practical conclusion: the artifact you need is not a list of citations but an auditable trail from question to claim.
A diagnostic framework: where does your trail break?
Before choosing tools, locate the weakest link. Use this diagnostic to decide which section of the workflow to run first.
| Symptom you notice | Likely break point | First workflow step |
|---|---|---|
| You cannot say which database or query produced a key paper | Search planning and logging | Build a search log from eligibility criteria |
| A note says a paper "shows" something, but you cannot find the sentence | Note checking | Reopen the source and quote the passage |
| A reference looks real but you have not opened it | Citation verification | Check the record against a database |
| Two co-authors cite different versions of the same study | Source provenance | Link reports to one study record |
| Your evidence table has claims but no locators | Evidence matrix | Add page or section locators per claim |
| A reviewer disputes a claim and you cannot reconstruct your path | Method trail | Rebuild the trail from the search log forward |
Run the diagnostic once at the start of a revision and again before submission. The second pass catches drift introduced while drafting.
Step 1: Plan the search from eligibility criteria
Start with what counts as evidence for your claim, not with a keyword. Cochrane's guidance is to plan searches from eligibility criteria and to combine free-text terms with subject headings. In practice, write down the population, intervention or exposure, outcome, and study design you will accept, then derive terms from each element.
Use more than one source. A single database will not cover a multidisciplinary claim, and Cochrane recommends searching multiple sources and deduplicating records. If you are beginning a literature search and want a scholarly search interface to run and refine queries, find academic papers through WisPaper's search and keep your query strings alongside the results.
Record, for each source: the database or interface, the exact query, any filters, the date run, and the number of records returned. PubMed's search details, which show how terms were translated and combined, are a useful model for the level of detail to capture even when you search elsewhere.
Step 2: Keep a search log that a co-author could rerun
A search log is the backbone of the method trail. At minimum it should let a colleague reproduce your result set. Cochrane's documentation expectations and PubMed's saved searches and search-details views both support this habit.
A workable log has one row per query:
- Question element the query targets
- Source and interface
- Exact query string, including field tags and operators
- Filters applied (dates, language, article type)
- Date run
- Records returned, before and after deduplication
- Screening decision at title/abstract and at full text
Cochrane recommends screening in stages and rerunning searches before publication. Build both into the log: a title/abstract column and a full-text column, plus a final rerun date. If your field moves quickly, the rerun is where you catch studies published during drafting.
Step 3: Check notes against the source, not against the abstract
Notes drift. A sentence that was accurate when written from an abstract can become an overclaim once it enters a draft. The check is mechanical: for every note that supports a claim, reopen the source and locate the passage.
Use a three-part note format:
- Claim in your own words, narrow enough to be falsified.
- Locator — page, section, table, or figure where the supporting passage sits.
- Quoted passage copied verbatim from the source.
If you cannot fill in the locator and the quote, the note is not yet evidence. This is also where you catch the common failure of citing a review for a finding that belongs to a primary study; Cochrane's guidance on linking multiple reports of one study is relevant here, because the review and the trial are different records with different evidentiary weight.
Step 4: Verify citations against real records
Citation verification has two layers. The first is existence: does the paper exist, with that title, those authors, that venue, and that year? The second is correspondence: does the record you hold match the claim you attach to it?
For existence, check each reference against a bibliographic database rather than against another citation list. PubMed supports citation lookup, and Google Scholar documents searching by author and title, which is useful when a reference is incomplete. For a batch of BibTeX entries, screen BibTeX citations with TrueCite, which checks entries against academic databases to flag references that do not correspond to real records.
For correspondence, return to Step 3. A verified record with an unverified claim is still an unverified claim.
Step 5: Attach provenance to every claim
Provenance answers: where did this claim come from, and which version of the source did I read? Three habits keep provenance intact.
Link reports to studies. One study may appear as a conference abstract, a journal article, and a follow-up. Cochrane recommends linking multiple reports of one study so that you count the study once. In your evidence matrix, give the study a single identifier and list its reports beneath it.
Record the version. Note whether you read the preprint, the accepted manuscript, or the version of record, and the date you accessed it. Google Scholar's alternative-version links are useful for locating a version you can actually open, but record which one you used.
Keep the trail with the project. If you are organizing sources for a manuscript or a team, save and organize papers in My Library so that the records you verified stay attached to the project rather than scattered across downloads.
Step 6: Build an evidence matrix that survives review
An evidence matrix converts scattered notes into a table a reviewer can scan. One row per claim, not per paper, is the version that survives peer review.
| Column | What goes in it |
|---|---|
| Claim ID | Short stable label used in the manuscript |
| Claim text | The sentence as it appears in the draft |
| Study ID | Single identifier per study, with linked reports |
| Source record | Verified citation with DOI or database ID |
| Locator | Page, section, table, or figure |
| Quoted passage | Verbatim supporting text |
| Direction and strength | What the source shows, stated no more strongly than the source does |
| Verification status | Checked, needs recheck, or unsupported |
| Owner and date | Who verified it and when |
The matrix does double duty. It is your working document during revision, and it is the artifact you consult when a reviewer disputes a sentence. When a claim has no row, it has no evidence.
Step 7: Use AI assistance where it shortens the loop
AI tools are most useful at the steps where the bottleneck is volume: finding candidate papers, drafting a structured summary of a set of sources, and checking a batch of references. They are least useful as a substitute for the locator-and-quote check, which requires opening the source.
For longer literature tasks, run a literature review with Scholar Agent, which supports literature review, inspiration, and reproduction use cases. For questions grounded in a specific set of papers you have already collected, ask questions based on papers in My Library with Library QA. Both are most valuable when their output feeds directly into the evidence matrix rather than into the draft.
A practical division of labor:
- AI-assisted: candidate discovery, query expansion, first-pass summaries, batch reference screening.
- Human-checked: eligibility decisions, locator and quote for every claim, direction and strength of each finding, final wording.
A worked example: revising a manuscript under review
Suppose a reviewer writes that your claim about an intervention's effect is "not supported by the cited literature." Here is the route.
- Locate the claim in the evidence matrix by claim ID. If there is no row, create one and mark it unsupported.
- Reopen the cited source and find the passage. If the source does not contain it, the claim needs rewording or a different citation.
- Check the citation record against a database to confirm you cited the right paper and version.
- Search for additional evidence using a query derived from the reviewer's objection, and log it.
- Update the matrix with the new row, the locator, and the quote, then revise the sentence to match the strength of the evidence.
- Rerun the search before resubmission and record the date, as Cochrane recommends.
If the revision requires coordinating several co-authors and their sources, set up a Research Project so the verification work stays with the manuscript rather than in email threads.
Routes for readers entering at different stages
Not everyone starts at Step 1. Pick the entry point that matches your situation.
| Your situation | Start here | Then |
|---|---|---|
| New manuscript, no search yet | Step 1: plan from eligibility criteria | Steps 2, 3, 6 |
| Draft written, citations unverified | Step 4: verify citations | Steps 3, 5, 6 |
| Reviewer disputes a specific claim | Worked example | Steps 3, 6, 2 (rerun) |
| Team project with scattered sources | Step 5: provenance | Steps 2, 6 |
| Grant evidence summary | Step 6: evidence matrix | Steps 1, 2, 4 |
| Reproducing a published method | Step 3: note checking | Step 5, then a reproduction plan |
If your task is reproducing a published method rather than verifying a claim, plan paper reproduction with PaperClaw from an uploaded PDF and reproduction instructions, and keep the same locator-and-quote discipline for each step you reproduce.
The final human review pass
Before submission, run a single pass that walks the trail end to end. It should take an afternoon, not a week, if the earlier steps were done.
- Search log complete: every query has a source, date, and record count; the final rerun is dated.
- Every claim has a row: no sentence in the results or discussion asserts a finding without a matrix entry.
- Every row has a locator and a quote: spot-check a random sample by reopening the sources.
- Citations verified: each reference corresponds to a real record, and each record matches the claim.
- Provenance intact: linked reports are counted once; versions are recorded.
- Strength matches evidence: no claim is stated more strongly than its source supports.
This pass is the human review step, and it is where the workflow pays off: you are checking a trail that already exists rather than reconstructing one under deadline.
FAQs
Keep Reading
An AI Tool Suggested a Paper That Does Not Exist: A Repair Workflow for Deadline Research
You are two days from a course-paper deadline. Your draft cites a study that fits your argument perfectly, but when you paste the title into a database, nothing comes back. The author name is plausible, the journal sound
Backward vs. Forward Citation Searching: What Does Each Reveal?
Backward citation searching follows a paper's reference list into the work it builds on. Forward citation searching follows the papers that later cite it. On the same task — assembling a defensible evidence base for a ti
Broad Search vs. Narrow Search: Which One Finds the Evidence You Need?
Under a deadline, the question is rarely "should I search broadly or narrowly?" It is "which move gets me to defensible evidence fastest?" Broad recall and narrow precision are not rival philosophies; they are two ends o