
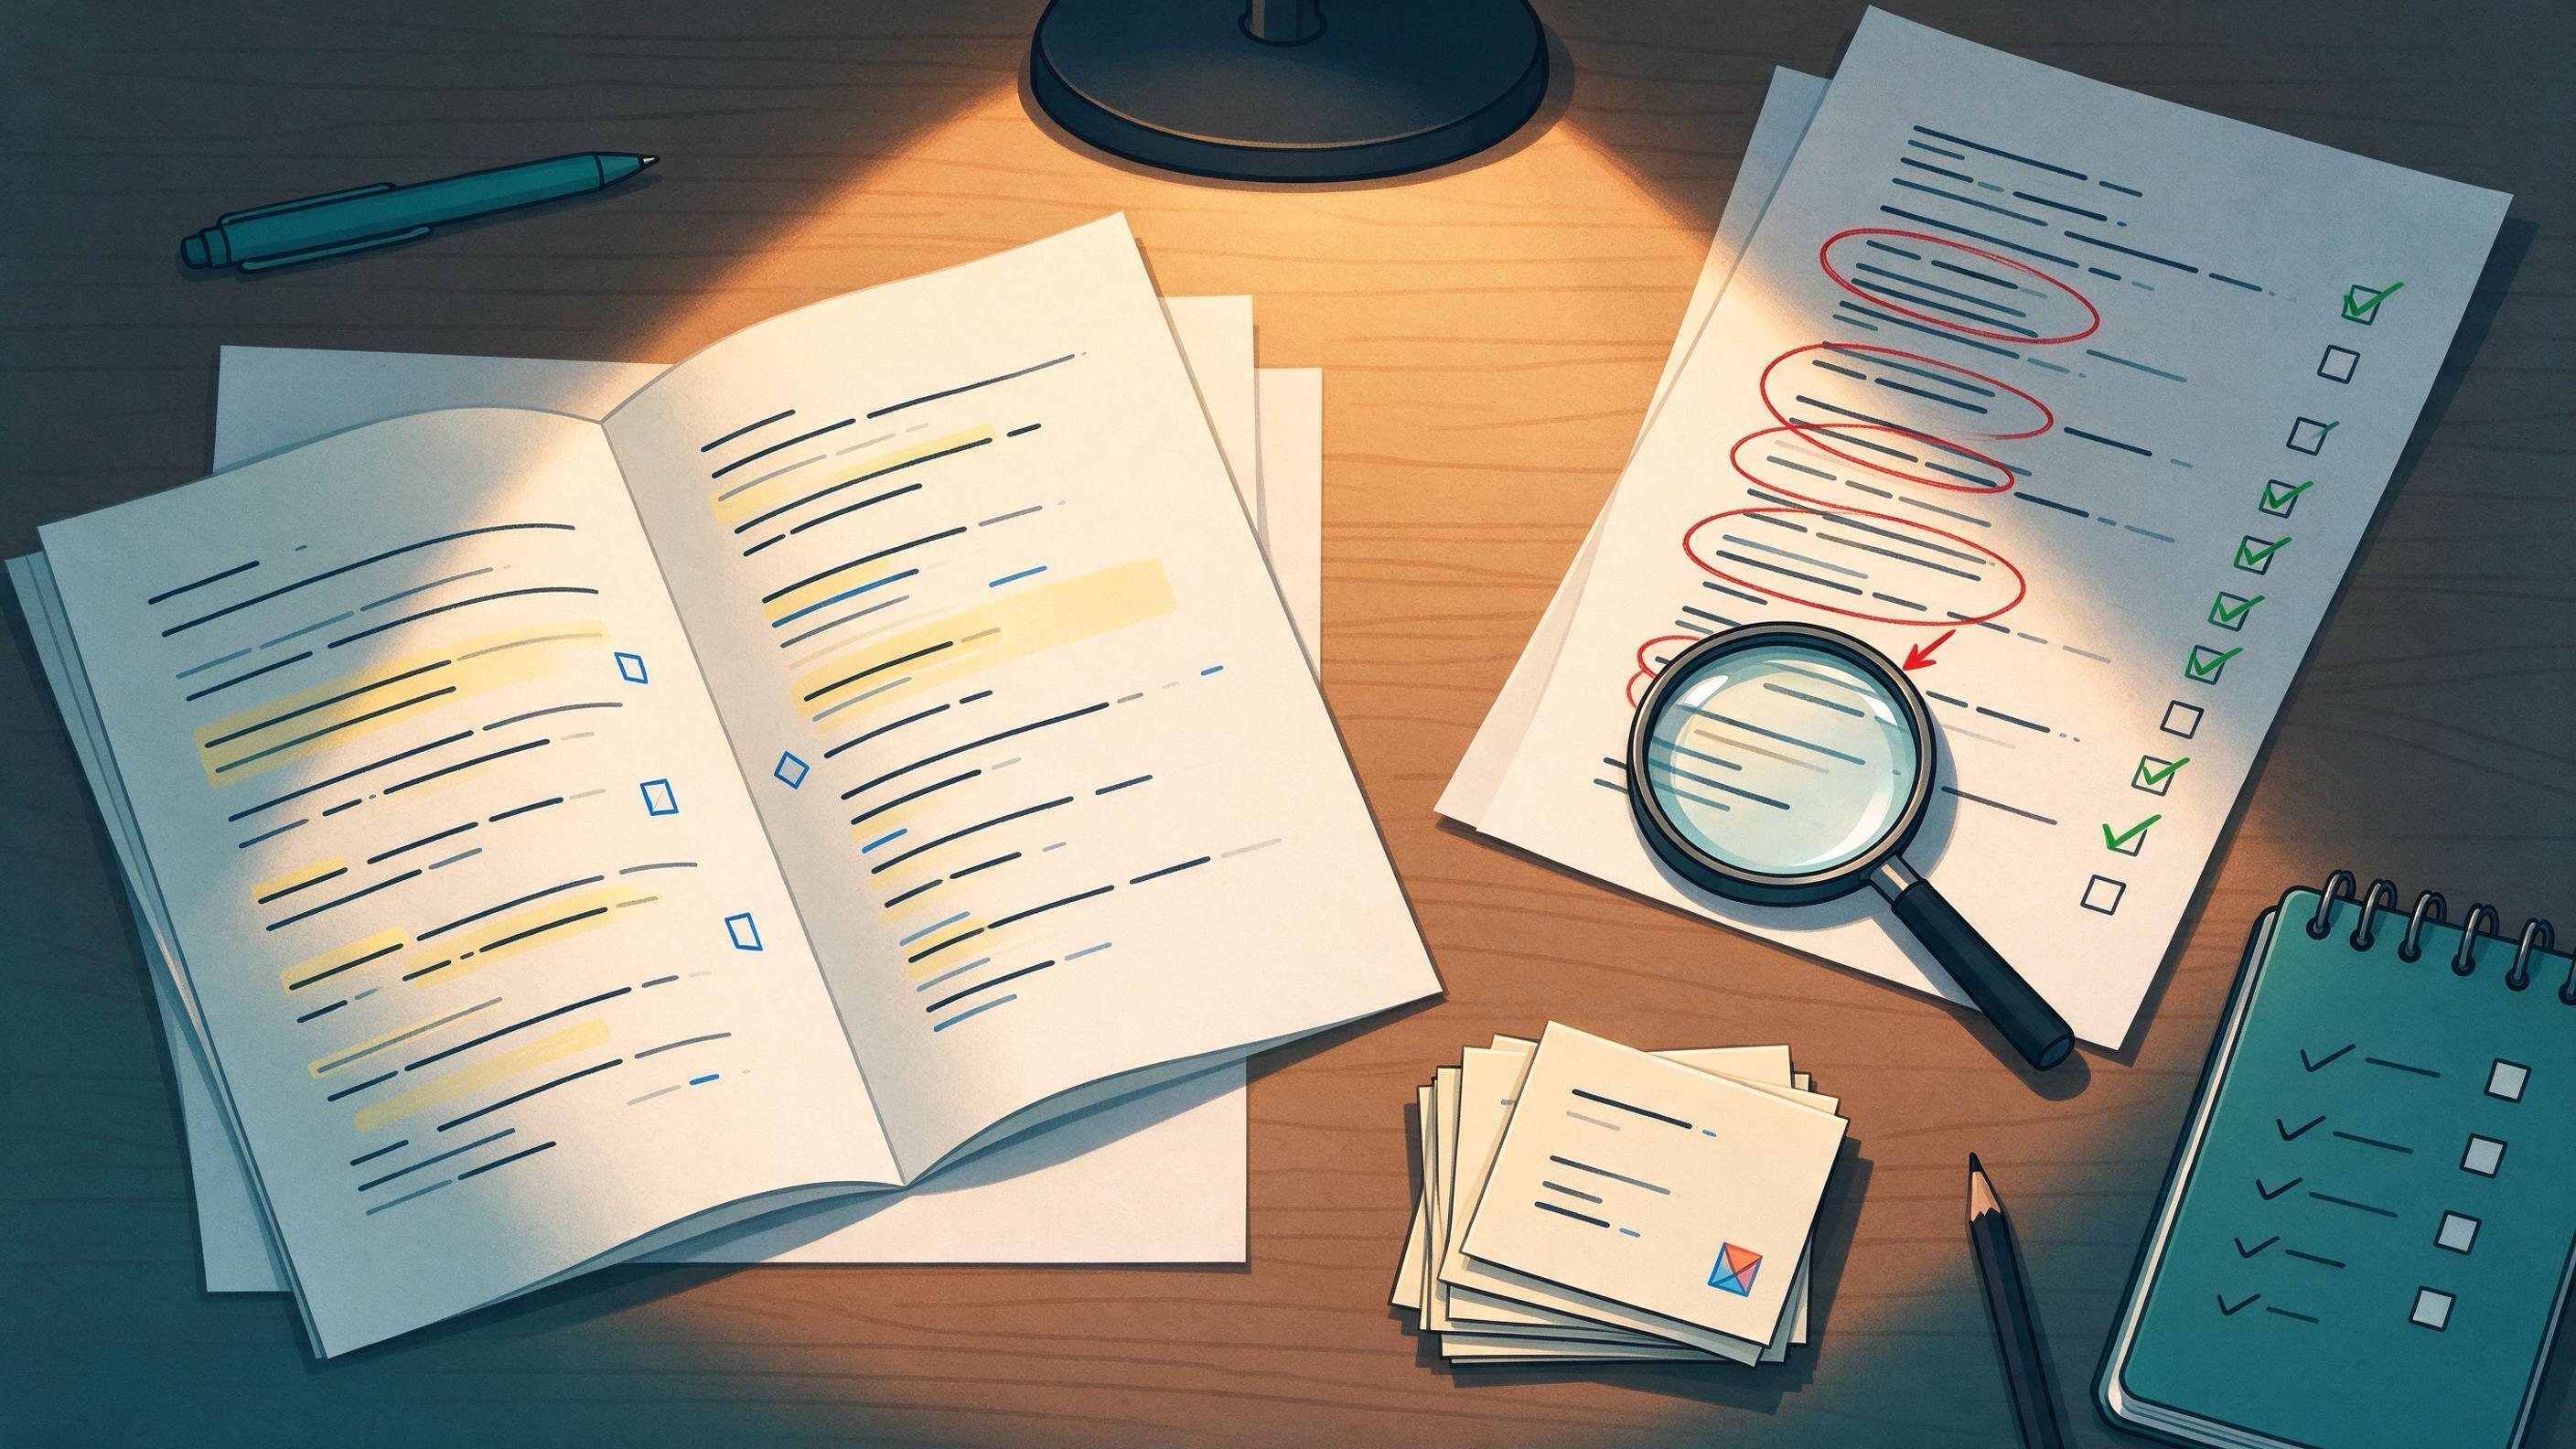
A reference-list audit is a structured pass through every entry in your bibliography to confirm three things: the work exists as cited, the metadata matches the published record, and the entry actually supports the sentence it is attached to. It is not a spell-check. It is a reconciliation between your manuscript, your bibliography file, and the published record — done in a fixed order so that fixes in one place don't silently break another.
If you are finishing a course paper, a thesis chapter, or a first manuscript, the audit is the last quality gate you control before a reviewer or supervisor sees the list. This guide gives you a repeatable sequence, checkpoints where you stop and verify, a worked example, and explicit completion criteria so you know when to stop.
What state is your reference list actually in?
Most reference lists before an audit are in one of three states, and each needs a different starting move.
State 1 — The list was built by hand as you wrote. Entries were typed from memory or copied from PDFs. The risk is concentrated in metadata: author initials, page ranges, volume numbers, and years. Your first move is a metadata reconciliation pass, not a content pass.
State 2 — The list was exported from a manager but never cleaned. You have a .bib file or an export with duplicates, orphaned keys, and entries imported from secondary sources. The risk is structural: the same paper appears twice under different keys, or a key points to the wrong record. Your first move is a deduplication and key-integrity pass.
State 3 — The list mixes both, plus entries inherited from an earlier draft. This is the common case for a thesis chapter assembled over months. The risk is that some entries were never verified at all. Your first move is a triage: sort entries by how confident you are that they exist and match the record, then work from least confident to most.
A quick diagnostic: count the entries you could defend if a reviewer asked "where exactly did you get this?" If that number is lower than your total, you have a real audit to do.
Step 1: Freeze the manuscript and export a clean bibliography
Before touching anything, create a snapshot. Save the current manuscript, export the bibliography to a plain-text format, and note the date. Every subsequent change should be traceable to this snapshot so you can compare before and after.
Decide now which fields your target style requires. A typical journal or thesis style specifies authors, year, title, venue, volume, issue, pages, and DOI. Write that field list down — it becomes your audit columns.
If your entries are stored as BibTeX, this is the moment to screen the file as a whole rather than entry by entry. TrueCite checks BibTeX against real academic databases to flag hallucinated references, which is the fastest way to surface entries that were never real records to begin with. Run that screen first, then handle the survivors manually.
Checkpoint 1: You have a dated snapshot, an exported bibliography, and a written list of required fields. Do not proceed until all three exist.
Step 2: Confirm each work exists and resolves
Existence is the first hard gate. A DOI can be resolved through doi.org to the current destination registered for that identifier. Resolution tells you the identifier points somewhere live; it does not by itself confirm that the bibliographic fields in your entry match the work, and it does not confirm the work supports your claim. Treat resolution as a locator, not a verdict.
For each entry:
- If a DOI is present, resolve it and confirm the landing page corresponds to the cited work.
- If no DOI is present, search by exact title and first author. Google Scholar documents searching by author and title, which is a practical way to locate a record when the DOI is missing.
- If the work cannot be located at all, mark it as unresolved and set it aside for the next step.
When you need to find or re-find a paper during this pass, WisPaper search gives you a scholarly search interface for locating academic papers. For a public entry point to the same task, the WisPaper Scholar Search page explains how to find academic papers.
Checkpoint 2: Every entry is marked resolved or unresolved. Unresolved entries are quarantined, not deleted — you may still need to find the correct record.
Step 3: Reconcile metadata against the published record
This is where most errors live. Publisher-deposited metadata — the kind exposed through services like the Crossref REST API — includes titles, authors, venues, dates, identifiers, licenses, funding, ORCID and ROR identifiers, abstracts when deposited, and post-publication updates from trusted sources. That is a strong basis for comparison, but it is deposited metadata, so it reflects what the publisher registered.
Work field by field against your required-field list:
- Authors: compare full names and order. Watch for transliterated names, hyphenated surnames, and group authors.
- Year: confirm the publication year, not the online-first year, unless your style requires otherwise.
- Title: compare exactly, including subtitles.
- Venue, volume, issue, pages: these are the fields most often copied from a secondary citation rather than the record.
- Identifiers: confirm the DOI matches the work, not a related paper.
Record each discrepancy in your audit table with the value you had and the value the record shows. Do not fix silently — the table is your evidence that the correction was deliberate.
Checkpoint 3: Every resolved entry has been compared field by field, and every discrepancy is logged.
Step 4: Check that each citation supports its sentence
Metadata correctness is necessary but not sufficient. A perfectly formatted entry can still be attached to a claim it does not support. This pass is about the relationship between the sentence and the source.
For each in-text citation, open the source and locate the specific passage that supports the sentence. If you cannot point to a passage, the citation is doing decorative work. Three outcomes are possible:
- Supported: the passage says what your sentence says. Keep it.
- Partially supported: the source supports a narrower claim. Narrow your sentence to match.
- Unsupported: the source does not address the claim. Find a different source or remove the claim.
When you need to interrogate a set of papers you have already collected, Library QA lets you ask questions based on papers uploaded to My Library or added from search results. That is useful for checking what a source actually says before you commit a sentence to it.
Checkpoint 4: Every in-text citation has a located supporting passage, or has been narrowed or removed.
Step 5: Deduplicate and repair the bibliography structure
Now return to the file itself. Duplicates usually appear as the same work under two keys, or as a preprint and a published version cited separately. Decide which record is canonical and merge.
Also check:
- Orphaned keys: entries in the bibliography that no in-text citation references.
- Missing keys: in-text citations with no bibliography entry.
- Version drift: a preprint cited where the published version exists, or vice versa.
If you are organizing the sources you are keeping, My Library lets you save or upload papers and organize them in the WisPaper library, which keeps the canonical set in one place while you clean the file.
Checkpoint 5: No duplicates, no orphaned keys, no missing keys, and every version choice is deliberate.
Step 6: Run a style and consistency pass
With content and structure settled, apply the target style mechanically. Check punctuation, italicization, capitalization of titles, et al. thresholds, and the ordering of multiple citations in one bracket. This pass should produce no new factual decisions — if it does, you have found a content problem late, and you should return to Step 3.
A useful discipline: read the list aloud as a list, not as prose. Inconsistencies that are invisible on the page often become audible.
Checkpoint 6: The list reads consistently from first entry to last, with no style outliers.
A worked example: the January project-start cleanup
Suppose you are starting a new project in January and want to reuse the reference list from a chapter you finished in December. The list has 84 entries. Here is how the audit runs.
Triage. You estimate that about a third of the entries were typed by hand early in the chapter and never revisited. You sort those to the front.
Existence. You resolve every DOI. Six entries fail to resolve. Two turn out to be working papers that were later published; four cannot be located by title and author search. The four are quarantined.
Metadata. Of the 78 resolved entries, you find 19 discrepancies: 11 in page ranges, 4 in author initials, 3 in year (online-first versus issue year), and 1 wrong DOI pointing to a related paper. Each is logged with old and new values.
Claim support. You check the 40 in-text citations attached to the riskiest claims. Three are partially supported and get narrowed sentences; one is unsupported and the claim is cut.
Structure. Two duplicate pairs are merged. Five orphaned entries are removed. One preprint is replaced with its published version.
Style. A final pass catches inconsistent et al. usage in seven entries.
Result. The list drops from 84 to 77 entries, with a logged change record for every correction. You now have a clean base for the new project rather than inheriting the old chapter's uncertainty.
If the new project needs a home for this cleaned material, Research Projects is where you create a new project in the WisPaper Research Projects area.
Reusable audit checklist
| Step | What you check | Artifact produced | Done when |
|---|---|---|---|
| 1 | Snapshot and export | Dated manuscript copy, exported bibliography, required-field list | All three exist |
| 2 | Existence | Resolved/unresolved status per entry | Every entry marked |
| 3 | Metadata | Discrepancy log with old and new values | Every resolved entry compared |
| 4 | Claim support | Located passage per citation, or narrowed/removed claim | Every in-text citation accounted for |
| 5 | Structure | Deduplicated file, key integrity report | No duplicates, orphans, or missing keys |
| 6 | Style | Consistent formatted list | No style outliers |
Keep the discrepancy log and the key integrity report. They are the record that the audit happened, and they make the next audit faster.
How do you know the audit is finished?
The audit is complete when all of the following are true:
- Every entry either resolves to a located record or has been removed with a logged reason.
- Every remaining entry has been compared field by field against the published record, with discrepancies logged and corrected.
- Every in-text citation has a located supporting passage, or the sentence has been narrowed or removed.
- The bibliography contains no duplicates, no orphaned keys, and no missing keys.
- The list passes a full read-through in the target style with no outliers.
- The change record is saved alongside the snapshot from Step 1.
If any of these is false, you are not finished — but you also do not need to restart. Return to the specific step that failed and work forward from there.
Where the audit fits in a longer research workflow
A reference audit is a checkpoint, not a one-time event. It is worth running before submission, before a supervisor review, and before you carry a bibliography into a new project. Each run gets faster because the discrepancy log tells you where your list is historically weak.
For longer literature work that follows the audit — building a review, exploring directions, or reproducing a result — Scholar Agent supports longer research tasks in WisPaper's literature review, inspiration, and reproduction use cases. If you are moving from a cleaned bibliography toward new directions, Idea Discovery takes research topics, background, references, and experimental constraints to generate research ideas. For readers new to the platform, the WisPaper English homepage is a general entry point.
FAQs
Keep Reading

How to Build an Evidence Matrix for a Literature Review
An evidence matrix is the working table that turns a pile of search results into a defensible review. Each row is one study or one report; each column is a decision you will need to defend later — why it was eligible, wh

How to Build Search Terms from a Research Question
A research question becomes searchable only after you translate it into a documented set of concepts, synonyms, and source-specific syntax. The reliable way to do this is to start from your eligibility criteria, split th

How to Check the Source Behind a Table or Figure
A table or figure in a manuscript is a claim compressed into rows, axes, or a schematic. When a coauthor, reviewer, or future lab member asks "where did this come from?", the answer needs to be a traceable path from the