

A claim is only as strong as the trail that connects it to a verifiable source. When you are revising a manuscript, closing a project, handing off a lab notebook, or starting a new review, the practical question is not "does this sound right?" but "can I show, step by step, that this source exists, that it says what I think it says, and that it supports this specific sentence?" This guide gives you a repeatable sequence for answering that question, with checkpoints, a worked example, and a reusable checklist.
What does it mean to judge evidence strength?
Judging evidence strength means separating three things that are easy to blur together: the identity of a work, the content of that work, and the fit between that content and your claim. A DOI can resolve to a current destination, which helps you locate a work, but the bibliographic fields and the source text still need to be checked for identity and claim support. That distinction is the backbone of everything below.
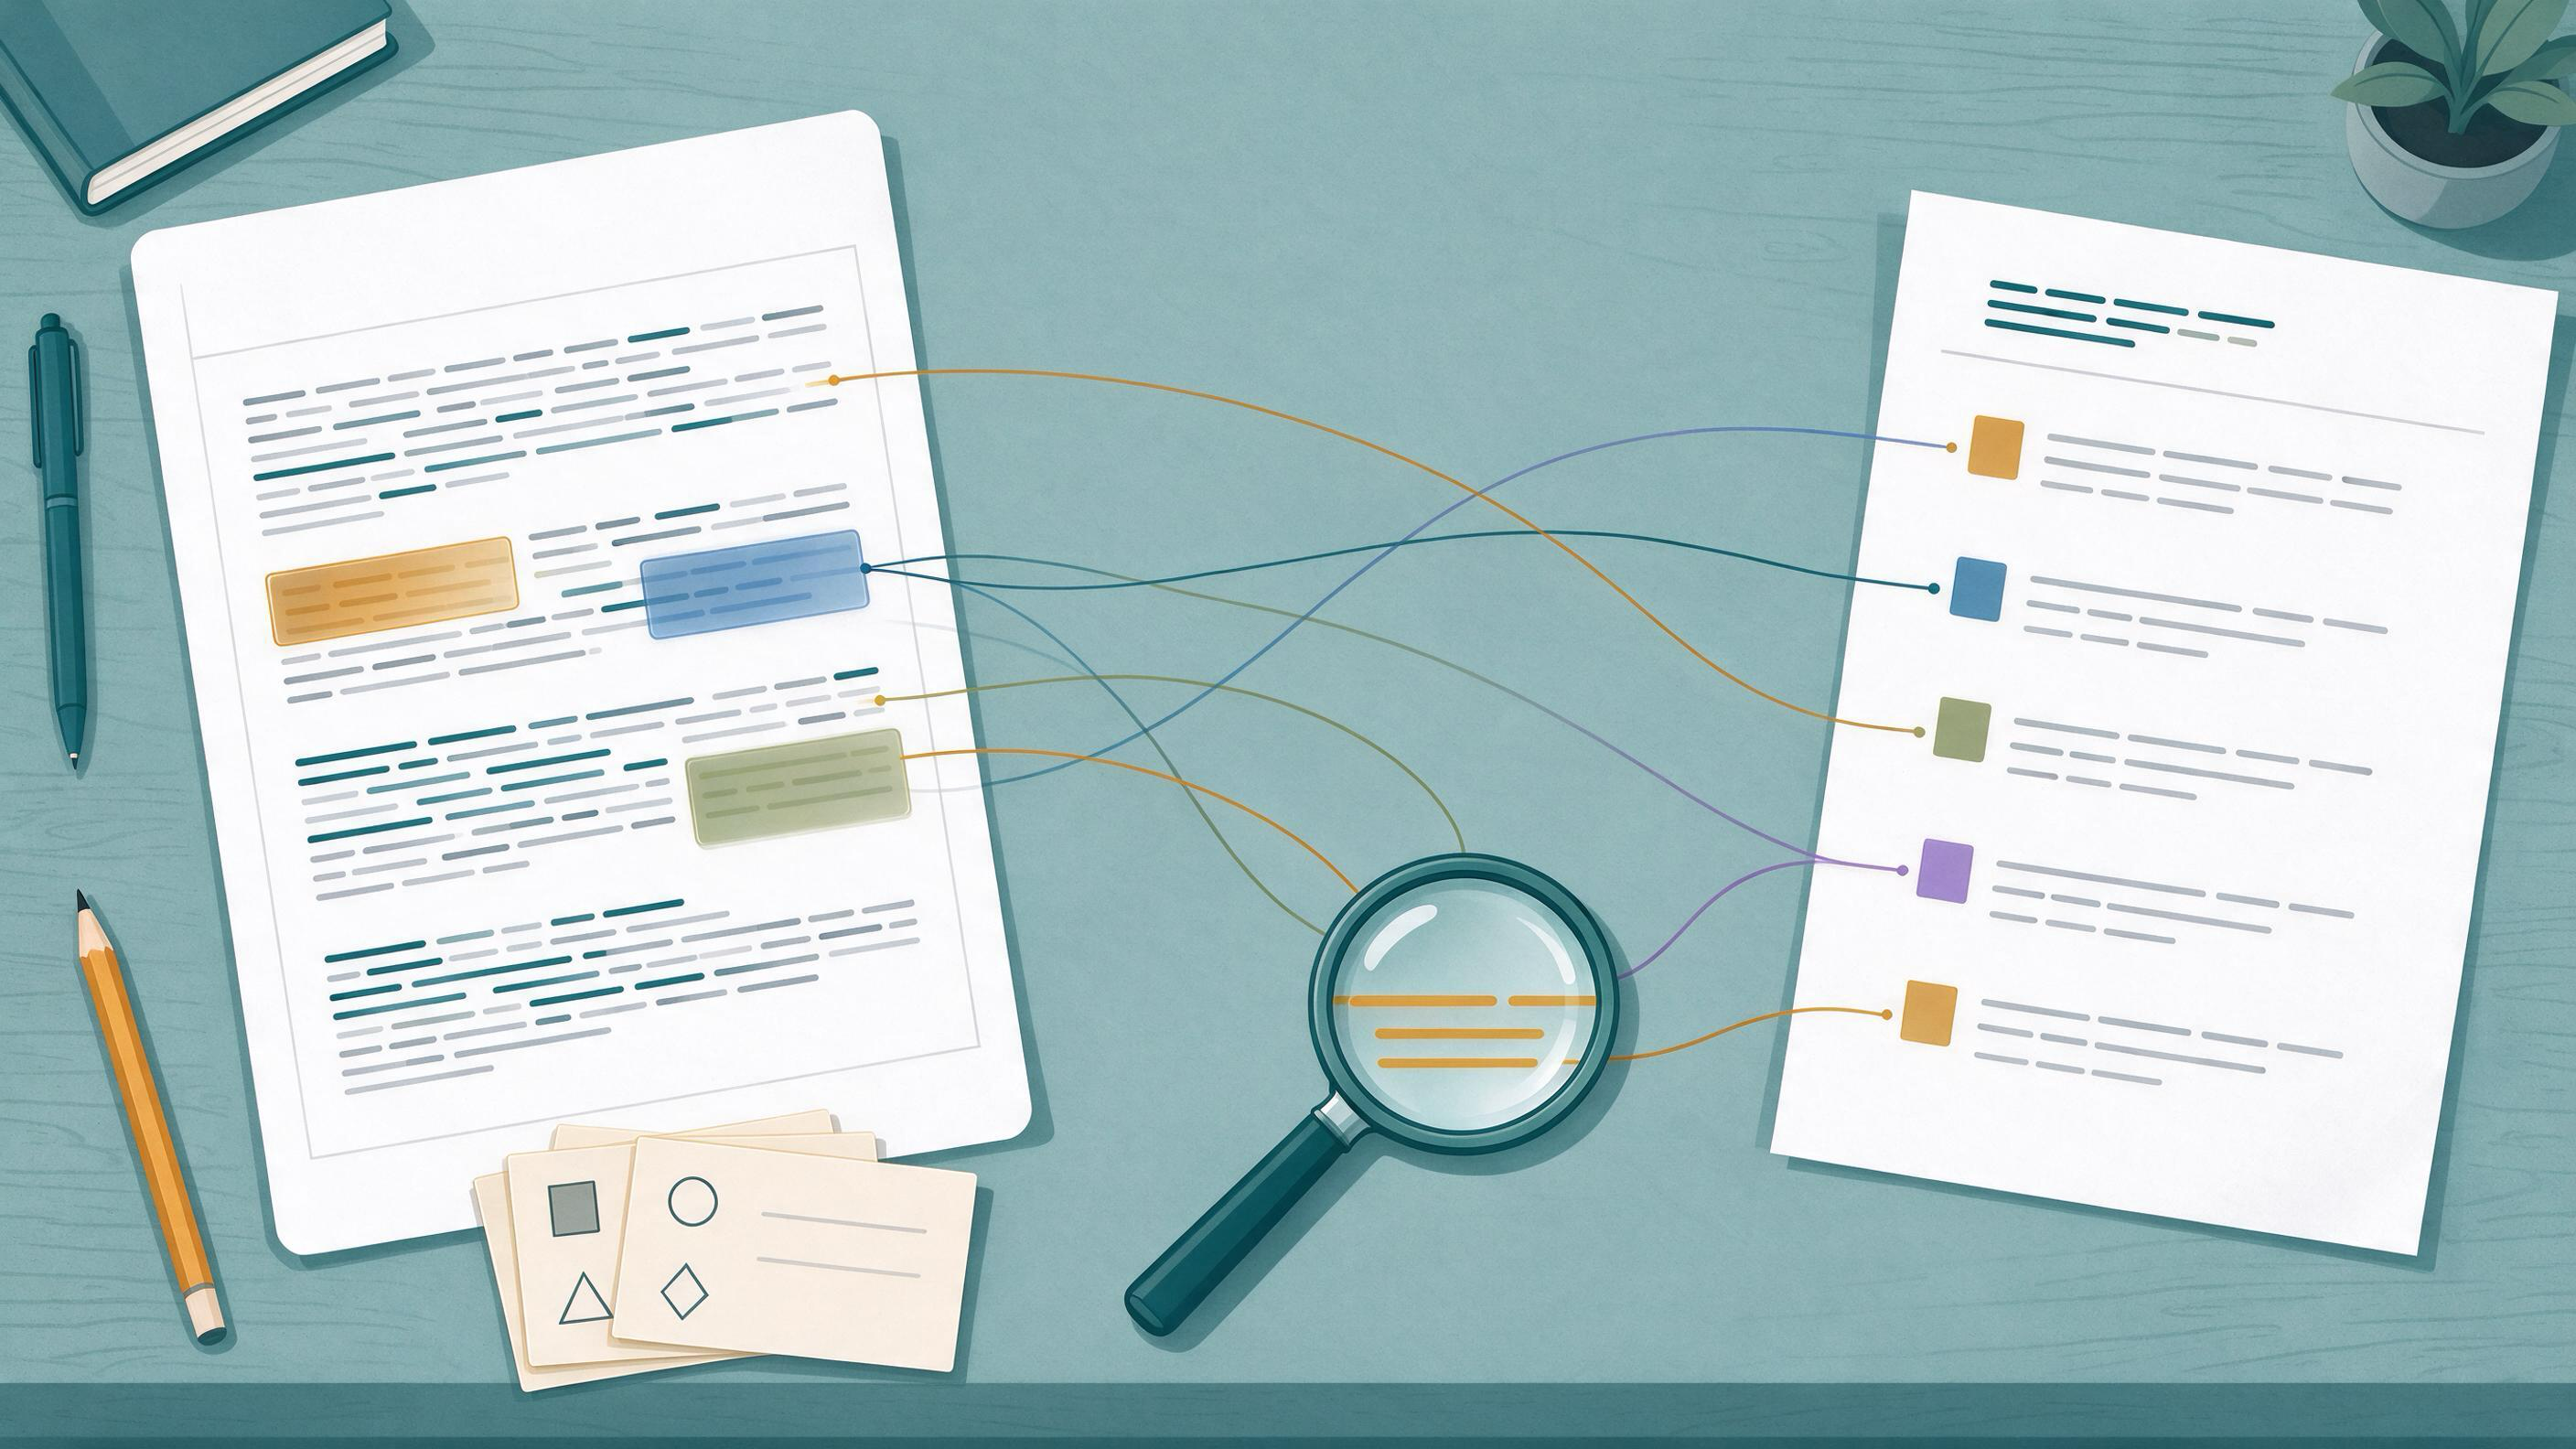
A useful way to frame the task is to treat every claim as having a chain of custody. Each link in the chain is a decision you can record: which source, which version, which passage, which interpretation, and which reviewer confirmed it. When the chain is complete, a coauthor or reviewer can retrace your steps without asking you.
Why does a resolvable link not settle the question?
A working link tells you a destination exists. It does not tell you the destination is the right work, the right version, or the right passage. DOI resolution through doi.org takes you to the current destination registered for that identifier, which is genuinely useful for locating a work, but identity and claim support remain separate checks.
This matters most in revision. A reference that resolves cleanly can still point to a preprint rather than the version of record, or to a paper whose abstract sounds supportive while the relevant result sits in a limitations paragraph. Treating resolution as the finish line is the most common way weak evidence slips into a manuscript.
Step 1: Pin down the identity of each source
Start by confirming that the work you are citing is the work you think it is. Publisher-deposited metadata is a good anchor here: Crossref exposes scholarly metadata through its REST API, including titles, authors, venues, dates, identifiers, licenses, funding, ORCID and ROR identifiers, abstracts when deposited, and post-publication updates from trusted sources.
Use that metadata to check the fields that matter for your claim:
- Title and authors match the work you read.
- Venue and date are consistent with the version you are relying on.
- Identifiers (DOI, ORCID, ROR) are present and coherent.
- Post-publication updates are noted, since a correction or update can change what a source supports.
Checkpoint: For every source behind a load-bearing claim, you can state the title, first author, venue, year, and identifier without opening a browser tab. If you cannot, the identity step is not finished.
Step 2: Locate the work and its versions
Once identity is confirmed, locate the work and check whether multiple versions exist. Google Scholar documents searching by author and title, date sorting and date limits, Cited by and Related articles, citation export, library access links, email alerts, and ways to locate alternative versions of a work. Those features are useful for finding a paper and for spotting that an alternative version exists.
When you search, record what you did: the query, the filters, and the version you selected. That record is what makes the method auditable later. If you are running this at scale, a scholarly search interface helps you keep queries consistent across a project; you can start from WisPaper search to find academic papers and then move promising results into a working set.
Checkpoint: Your notes name the version you used and the search path that led you to it.
Step 3: Read for claim support, not for topic match
This is where most evidence judgments actually happen. A source can be on-topic and still fail to support your sentence. Read for the specific proposition you are making, and record the passage that carries it.
A practical pattern:
- Write your claim as a single sentence.
- Identify what kind of support it needs (a measured result, a stated definition, a reported method).
- Find the passage in the source that speaks to that specific need.
- Quote or paraphrase it in your notes with a location (section, page, figure).
- Note any condition, population, or scope limit attached to it.
When you need to ask questions across a set of papers you have already gathered, Library QA lets you ask questions based on papers uploaded to My Library or added from search results. That is useful for orientation across a reading set; the passage-level check against your sentence still happens in the source itself.
Checkpoint: Every claim in your draft has a linked passage, not just a linked paper.
Step 4: Build the evidence trail as an artifact
An evidence trail that lives only in your head is not a trail. Make it a file your coauthors can open. A workable structure is a table with one row per claim:
| Field | What to record |
|---|---|
| Claim ID | Short label used in the manuscript |
| Claim text | The sentence as drafted |
| Source identity | Title, first author, venue, year, DOI |
| Version used | Version of record, preprint, or other |
| Supporting passage | Quoted text or paraphrase with location |
| Scope limits | Conditions, population, or caveats attached |
| Status | Confirmed, needs check, or unsupported |
| Reviewer | Who verified it and when |
This table does double duty. It is your working checklist during revision, and it is the handoff document when a project closes or a new lab member picks up the thread.
To keep the sources themselves organized alongside the trail, My Library lets you save or upload papers and organize them in the WisPaper library. Grouping sources by claim cluster makes the table easier to maintain.
Checkpoint: A coauthor can open the table, pick any row, and reach the supporting passage in two steps.
Worked example: revising a claim in a manuscript
Suppose a draft sentence reads: "Prior work establishes that the effect persists across settings." A coauthor flags it during revision.
Identity. You locate the cited paper and confirm title, first author, venue, year, and DOI against deposited metadata. The fields match.
Version. You check whether the version you read is the one the citation points to. It is, and no post-publication update is recorded for it.
Claim support. You read for the word "persists." The paper reports the effect in one setting and discusses generalization as an open question. The passage does not support "across settings."
Repair. You narrow the sentence to what the source supports, or you find an additional source that addresses other settings. Either way, the row in your table records the original claim, the passage you found, and the revision you made.
Handoff. When the manuscript goes to a new reader, the table shows why the sentence changed. That is the difference between a revision and an unexplained edit.
How do you check a reference list at scale?
Reference lists are where identity errors concentrate, because they are often assembled from memory, from other papers' bibliographies, or from automated tools. A reference that looks plausible can fail the identity check entirely.
TrueCite supports BibTeX citation screening: it checks BibTeX against real academic databases to flag hallucinated references. Run it before submission so that identity problems surface while you still have time to fix them, then route any flagged entries back through Steps 1 and 2.
Checkpoint: Every flagged reference is either corrected or removed, and the resolution is noted in your evidence table.
How do you keep the trail reproducible across a project?
Reproducibility here means a colleague can rerun your search and reach the same sources. That requires recording queries, filters, dates, and version choices, not just final citations.
For longer efforts, Scholar Agent fits longer research tasks in WisPaper's Scholar Agent area, including literature review, inspiration, and reproduction use cases. If the project involves re-running a published method, PaperClaw supports research-paper reproduction planning from an uploaded PDF and reproduction instructions. And when you are ready to set up the work itself, Research Projects is where you create a new project in the WisPaper Research Projects area.
Checkpoint: A colleague who has never seen your project can rerun one search from your notes and land on the same source set.
When is the evidence judgment ready?
You are done when all of the following hold:
- Every load-bearing claim has a row in the evidence table with a source identity and a supporting passage.
- Every source identity has been checked against deposited metadata, including any post-publication updates.
- The version used is recorded for each source.
- Scope limits are written next to the claim, not left implicit.
- The reference list has been screened and flagged entries resolved.
- A coauthor can retrace any claim to its passage without contacting you.
If any item is missing, the judgment is not finished, even if the prose reads well.
A reusable checklist
- Claim written as a single sentence
- Source identity confirmed (title, authors, venue, date, identifiers)
- Post-publication updates checked
- Version used recorded
- Supporting passage located and quoted with a location
- Scope limits noted
- Row added to the evidence table
- Reference list screened for identity errors
- Search path recorded for reproducibility
- Coauthor spot-check passed
FAQs
Keep Reading

How to Know When to Stop Searching the Literature
You stop searching when the next query is unlikely to change a decision you have already documented. That is the practical answer, and it is deliberately about decisions rather than feelings. Literature searching has no
How to Match Every In-Text Citation to the Reference List
A citation-to-reference match is a one-to-one reconciliation: every in-text citation points to exactly one reference-list entry, and every reference-list entry is cited at least once. When that reconciliation is complete

How to Narrow 100 Papers to the 20 You Actually Need
A hundred papers feels like progress until you have to defend a shortlist in front of a client, a decision committee, or the team picking up your work next quarter. The real task is not "read faster." It is deciding, in