
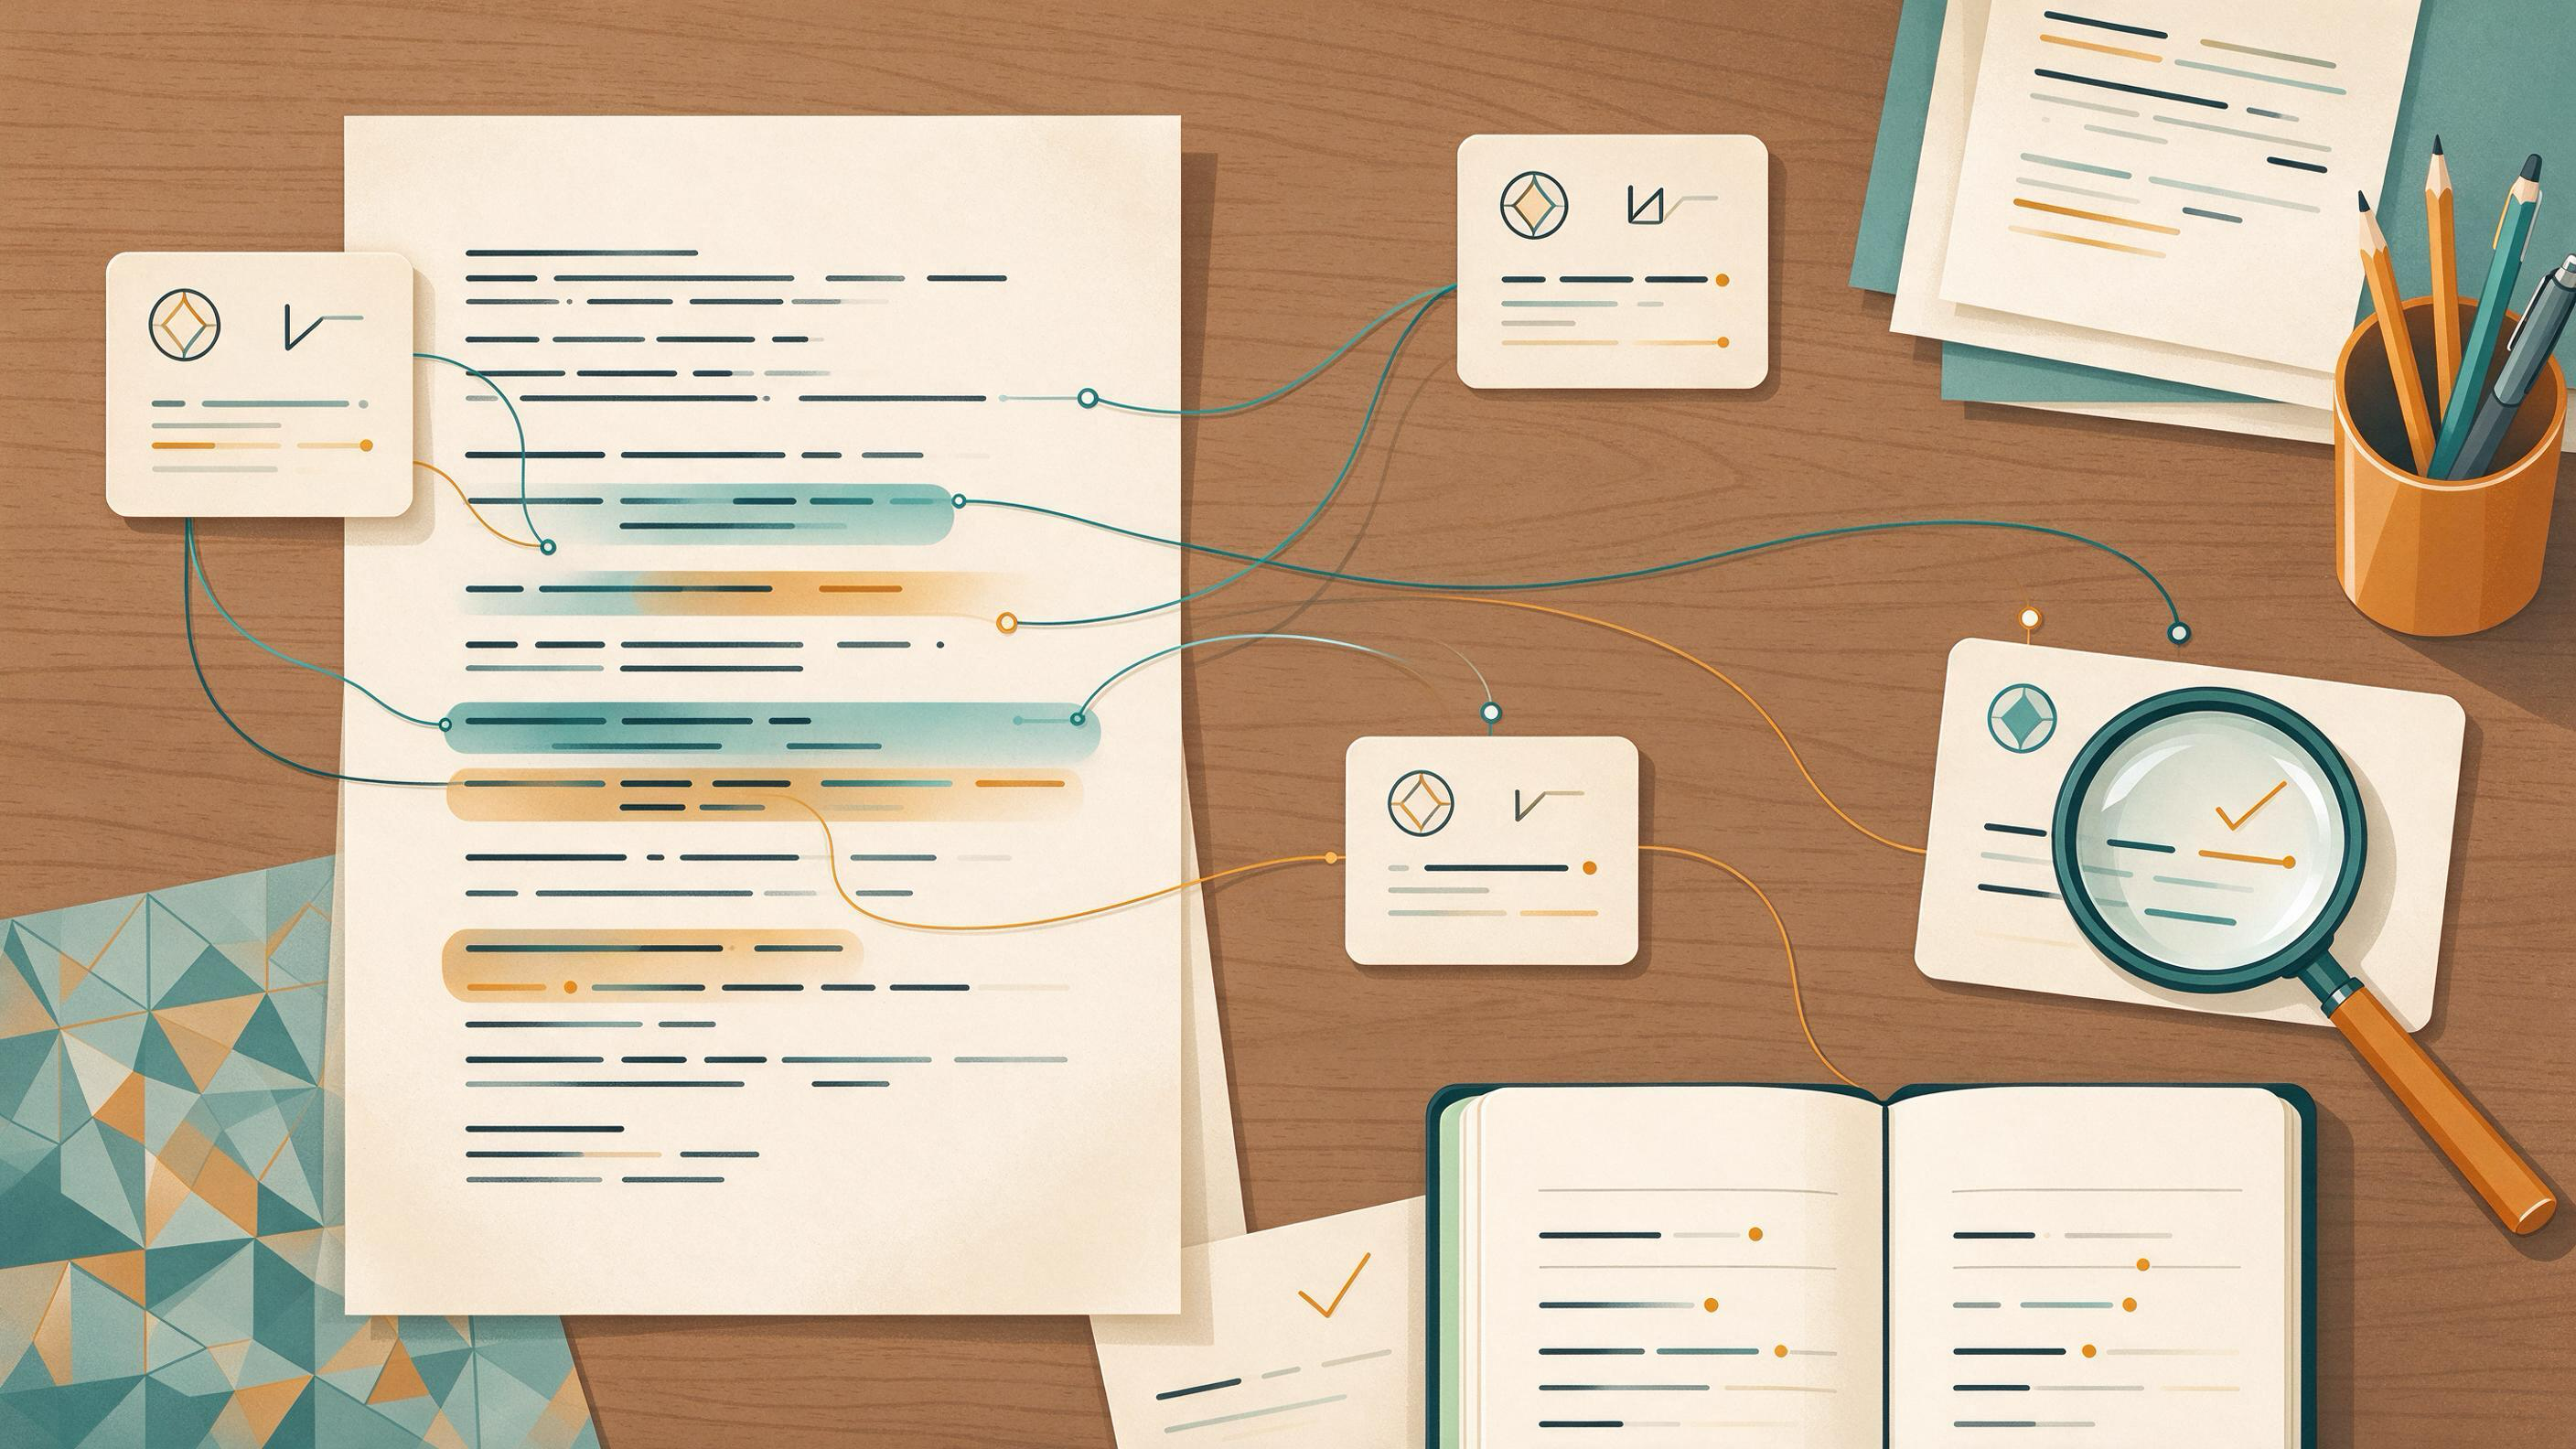
Revision breaks citation-claim links quietly. A sentence gets reworded, a paragraph is reordered, a coauthor merges two claims, and the reference that once supported the point now sits beside a claim it never made. The fix is not more careful reading alone; it is a method that keeps each claim tied to a specific, checkable source and leaves a trail you can audit later.
This guide gives you that method: a claim-by-claim citation ledger, a revision sequence with checkpoints, a worked example, and clear rules for when to stop and escalate. It is written for researchers revising manuscripts, closing projects, handing work to a lab, or starting a new review where the evidence base must stay reproducible.
Why citations drift during revision
Citations drift because the unit that changes (a sentence) is not the unit that is tracked (a reference list). When you edit prose, the reference list usually stays intact, so nothing flags that a claim and its source have separated. Three forces drive most drift:
- Rewording. A hedged claim ("may reduce") becomes a firm one ("reduces"), but the cited source only supported the hedge.
- Reordering and merging. Moving sentences between paragraphs can leave a citation attached to the wrong neighbor.
- Reference churn. Adding, replacing, or cleaning up references can introduce entries that were never verified against the claim they now sit beside.
The practical consequence: a reference list that looks complete can still contain mismatches. Your revision process needs a checkpoint that compares each claim to its source, not just each citation to a formatting style.
Diagnose your starting state before you edit
Before touching the manuscript, classify what you actually have. This determines how much reconstruction the task needs.
| Starting state | What you likely have | First move |
|---|---|---|
| Clean draft, few edits | Stable prose, references formatted | Spot-check claims that changed wording |
| Heavy coauthor revision | Merged paragraphs, moved citations | Build a claim-by-claim ledger from scratch |
| Reviewer-requested changes | New claims added under pressure | Verify every newly added claim against a source |
| Lab handoff or project close | Partial notes, unclear provenance | Reconstruct the trail before archiving |
| New review from scratch | Topic and reading list, no ledger | Set up the ledger before drafting |
If you are starting a review and need to assemble the reading base first, a scholarly search interface such as WisPaper search lets you find papers to screen before any claim is written. The point of diagnosing first is to avoid the common mistake of reformatting references while the claim-source links are still broken.
Build a claim-by-claim citation ledger
The core artifact is a ledger with one row per claim. Each row records the claim as written, the source that supports it, the specific location in the source, and a status. This is what makes the trail auditable.
A workable ledger has these columns:
- Claim ID — a stable label (C1, C2) so you can track it across drafts.
- Claim text — the sentence or clause as it currently reads.
- Source — author, year, title, and identifier (DOI where available).
- Location in source — section, page, figure, or table where support sits.
- Support type — direct result, background, method, or contrast.
- Status — verified, needs check, unsupported, or replaced.
- Revision note — what changed and when.
Keep the ledger outside the manuscript so edits to prose do not overwrite the record. When a claim is cut, mark it retired rather than deleting the row; retired rows are part of the audit trail.
Verify identity before you verify support
A citation can fail in two ways: the source may not be the work you think it is, or the work may not support the claim. Check identity first.
A DOI resolves through doi.org to the current destination registered for that identifier. That helps you locate a work, but resolution alone does not confirm that the bibliographic fields match or that the source supports your claim. So confirm title, authors, venue, and date against the resolved record before you assess support. Crossref exposes publisher-deposited metadata through its REST API, including titles, authors, venues, dates, identifiers, licenses, funding, ORCID and ROR identifiers, abstracts when deposited, and post-publication updates from trusted sources. That metadata is useful for confirming identity and catching updates, but the claim-support judgment still rests on reading the source text.
For a batch of BibTeX entries, TrueCite checks BibTeX against real academic databases to flag hallucinated references. Run it when you have imported or merged a reference file, then resolve and read the flagged entries before you trust them in the ledger.
Run the revision sequence with checkpoints
Work in passes, and stop at each checkpoint until it passes. This keeps the ledger and the manuscript in step.
Pass 1: Freeze the claim inventory
Extract every sentence that makes a factual or interpretive claim and give it a Claim ID. Do not edit prose yet. Checkpoint: every claim has an ID and a row in the ledger.
Pass 2: Attach sources and locations
For each claim, record the source and the specific location that supports it. Where a claim rests on a source you have not read closely, mark it needs check. Checkpoint: no claim is left with a blank source or location.
Pass 3: Verify identity
Resolve each identifier and confirm the bibliographic fields. Use Crossref metadata to confirm titles, authors, venues, and dates, and to catch post-publication updates. Checkpoint: every source resolves and its fields match the ledger.
Pass 4: Verify support
Read the cited location and decide whether it supports the claim as written. Downgrade overreaching claims or replace the source. Checkpoint: every claim is marked verified, unsupported, or replaced — none remain needs check.
Pass 5: Edit prose against the ledger
Now revise wording, order, and emphasis. After each editing session, re-read changed claims against their ledger rows. Checkpoint: no claim changed status without a revision note.
Pass 6: Final reconciliation
Compare the reference list to the ledger. Every cited work should map to at least one verified claim, and every verified claim should map to a reference. Checkpoint: the two lists reconcile with no orphans on either side.
Worked example: a coauthor merge that split a citation
Suppose a manuscript states: "Remote work reduces team coordination costs (C12)." A coauthor merges this with a second sentence about communication frequency, producing: "Remote work reduces coordination costs and increases communication frequency (C12)." The original source supported the coordination-cost claim at a specific results section; it said nothing about communication frequency.
Here is how the ledger catches it:
- Claim inventory. C12 is split into C12a (coordination costs) and C12b (communication frequency).
- Attach sources. C12a keeps the original source and location. C12b has no source — mark needs check.
- Verify identity. The original source resolves and its fields match.
- Verify support. C12a is verified at the results section. C12b is marked unsupported because the source does not address it.
- Edit. The coauthor either finds a source for C12b or removes the clause. The revision note records the decision.
- Reconcile. The reference list still contains the original source, now tied only to C12a.
The merge looked harmless in prose but created a claim with no support. The ledger made the gap visible before peer review did.
Keep the evidence trail reproducible
An auditable trail lets a coauthor, reviewer, or successor reproduce your reasoning. Preserve four things:
- The ledger with Claim IDs, statuses, and revision notes.
- The search record — how you found each source, so the base can be rebuilt.
- The resolved identifiers — DOIs and confirmed metadata for each source.
- The decision log — why claims were downgraded, replaced, or retired.
When you search, Google Scholar documents searching by author and title, date sorting and date limits, Cited by and Related articles, citation export, library access links, email alerts, and ways to locate alternative versions of a work. Recording which of these you used, and when, keeps the search reproducible rather than reconstructed from memory.
For a lab handoff or project close, store the ledger alongside the manuscript and the reference file so the next person can pick up the trail. If you are organizing the underlying papers, My Library lets you save or upload papers and organize them in one place, which keeps the source set aligned with the ledger. When you need to ask questions grounded in those saved papers, Library QA supports questions based on papers uploaded to My Library or added from search results.
Reusable checklist for every revision round
Run this checklist at the end of each editing session. It is short enough to repeat and specific enough to catch drift.
- Every changed claim has a ledger row and a revision note.
- No claim is marked needs check at the end of the session.
- Every source resolves and its bibliographic fields match the ledger.
- Every verified claim points to a specific location in its source.
- Overreaching wording has been downgraded or resourced.
- Retired claims are marked retired, not deleted.
- The reference list and ledger reconcile with no orphans.
- The search record and decision log are saved with the manuscript.
Know when the result is ready
The revision is ready when three conditions hold together:
- Coverage. Every claim in the manuscript maps to a ledger row, and every row has a status other than needs check.
- Reconciliation. The reference list and the ledger match in both directions — no cited work without a verified claim, no verified claim without a reference.
- Trail. The ledger, search record, resolved identifiers, and decision log are saved where a coauthor or successor can find them.
If any condition fails, the manuscript is not ready for submission or handoff, regardless of how polished the prose looks.
Stop and escalation rules
Some situations call for stopping rather than pushing through. Use these rules to decide.
- Stop if a claim has no source after a full verification pass. Do not submit with an unsupported claim; either find a source or cut the claim.
- Stop if a source resolves to a different work than the ledger records. Re-verify identity before proceeding.
- Escalate to a coauthor if a claim's support depends on a source only they have read, or if a merge changed the meaning of a claim they authored.
- Escalate to a reviewer response if a peer-review request adds a claim you cannot source; document the gap rather than filling it with an unverified reference.
- Pause and rebuild the ledger if more than a few claims are marked needs check after a pass; the inventory is probably incomplete.
Where WisPaper fits in the workflow
WisPaper is an AI research assistant for finding, screening, organizing, and working with academic papers, as described on the WisPaper homepage. In this workflow it supports specific steps rather than replacing the ledger:
- Finding sources for claims that need support, through WisPaper search or the public WisPaper Scholar Search entry point.
- Screening a reference file with TrueCite to flag hallucinated BibTeX entries before they enter the ledger.
- Organizing the source set in My Library so the papers behind your claims stay together.
- Asking grounded questions about saved papers with Library QA when you need to check what a source actually says.
- Longer research tasks such as literature review or reproduction work through Scholar Agent, and project-level organization through Research Projects.
Each of these supports a step in the sequence above. The ledger remains the record of what you verified and why.
FAQs
Keep Reading

How to Map an Unfamiliar Research Field in One Week
Mapping an unfamiliar field in one week is a scoping task, not an exhaustive review. The goal is a defensible map: a documented search, a shortlist of anchor studies, a clear picture of the main evidence streams, and a w
How to Merge Duplicate Notes Without Losing Useful Context
Duplicate notes usually appear for a predictable reason: the same paper, idea, or supervisor comment gets captured more than once, in different places and at different moments. One copy lives in a reading list, another i

How to Onboard a New Collaborator to a Literature Review
Onboarding a new collaborator to a literature review means transferring not just a folder of PDFs but a working method: the eligibility criteria, the search logic, the screening decisions already made, and the evidence t