
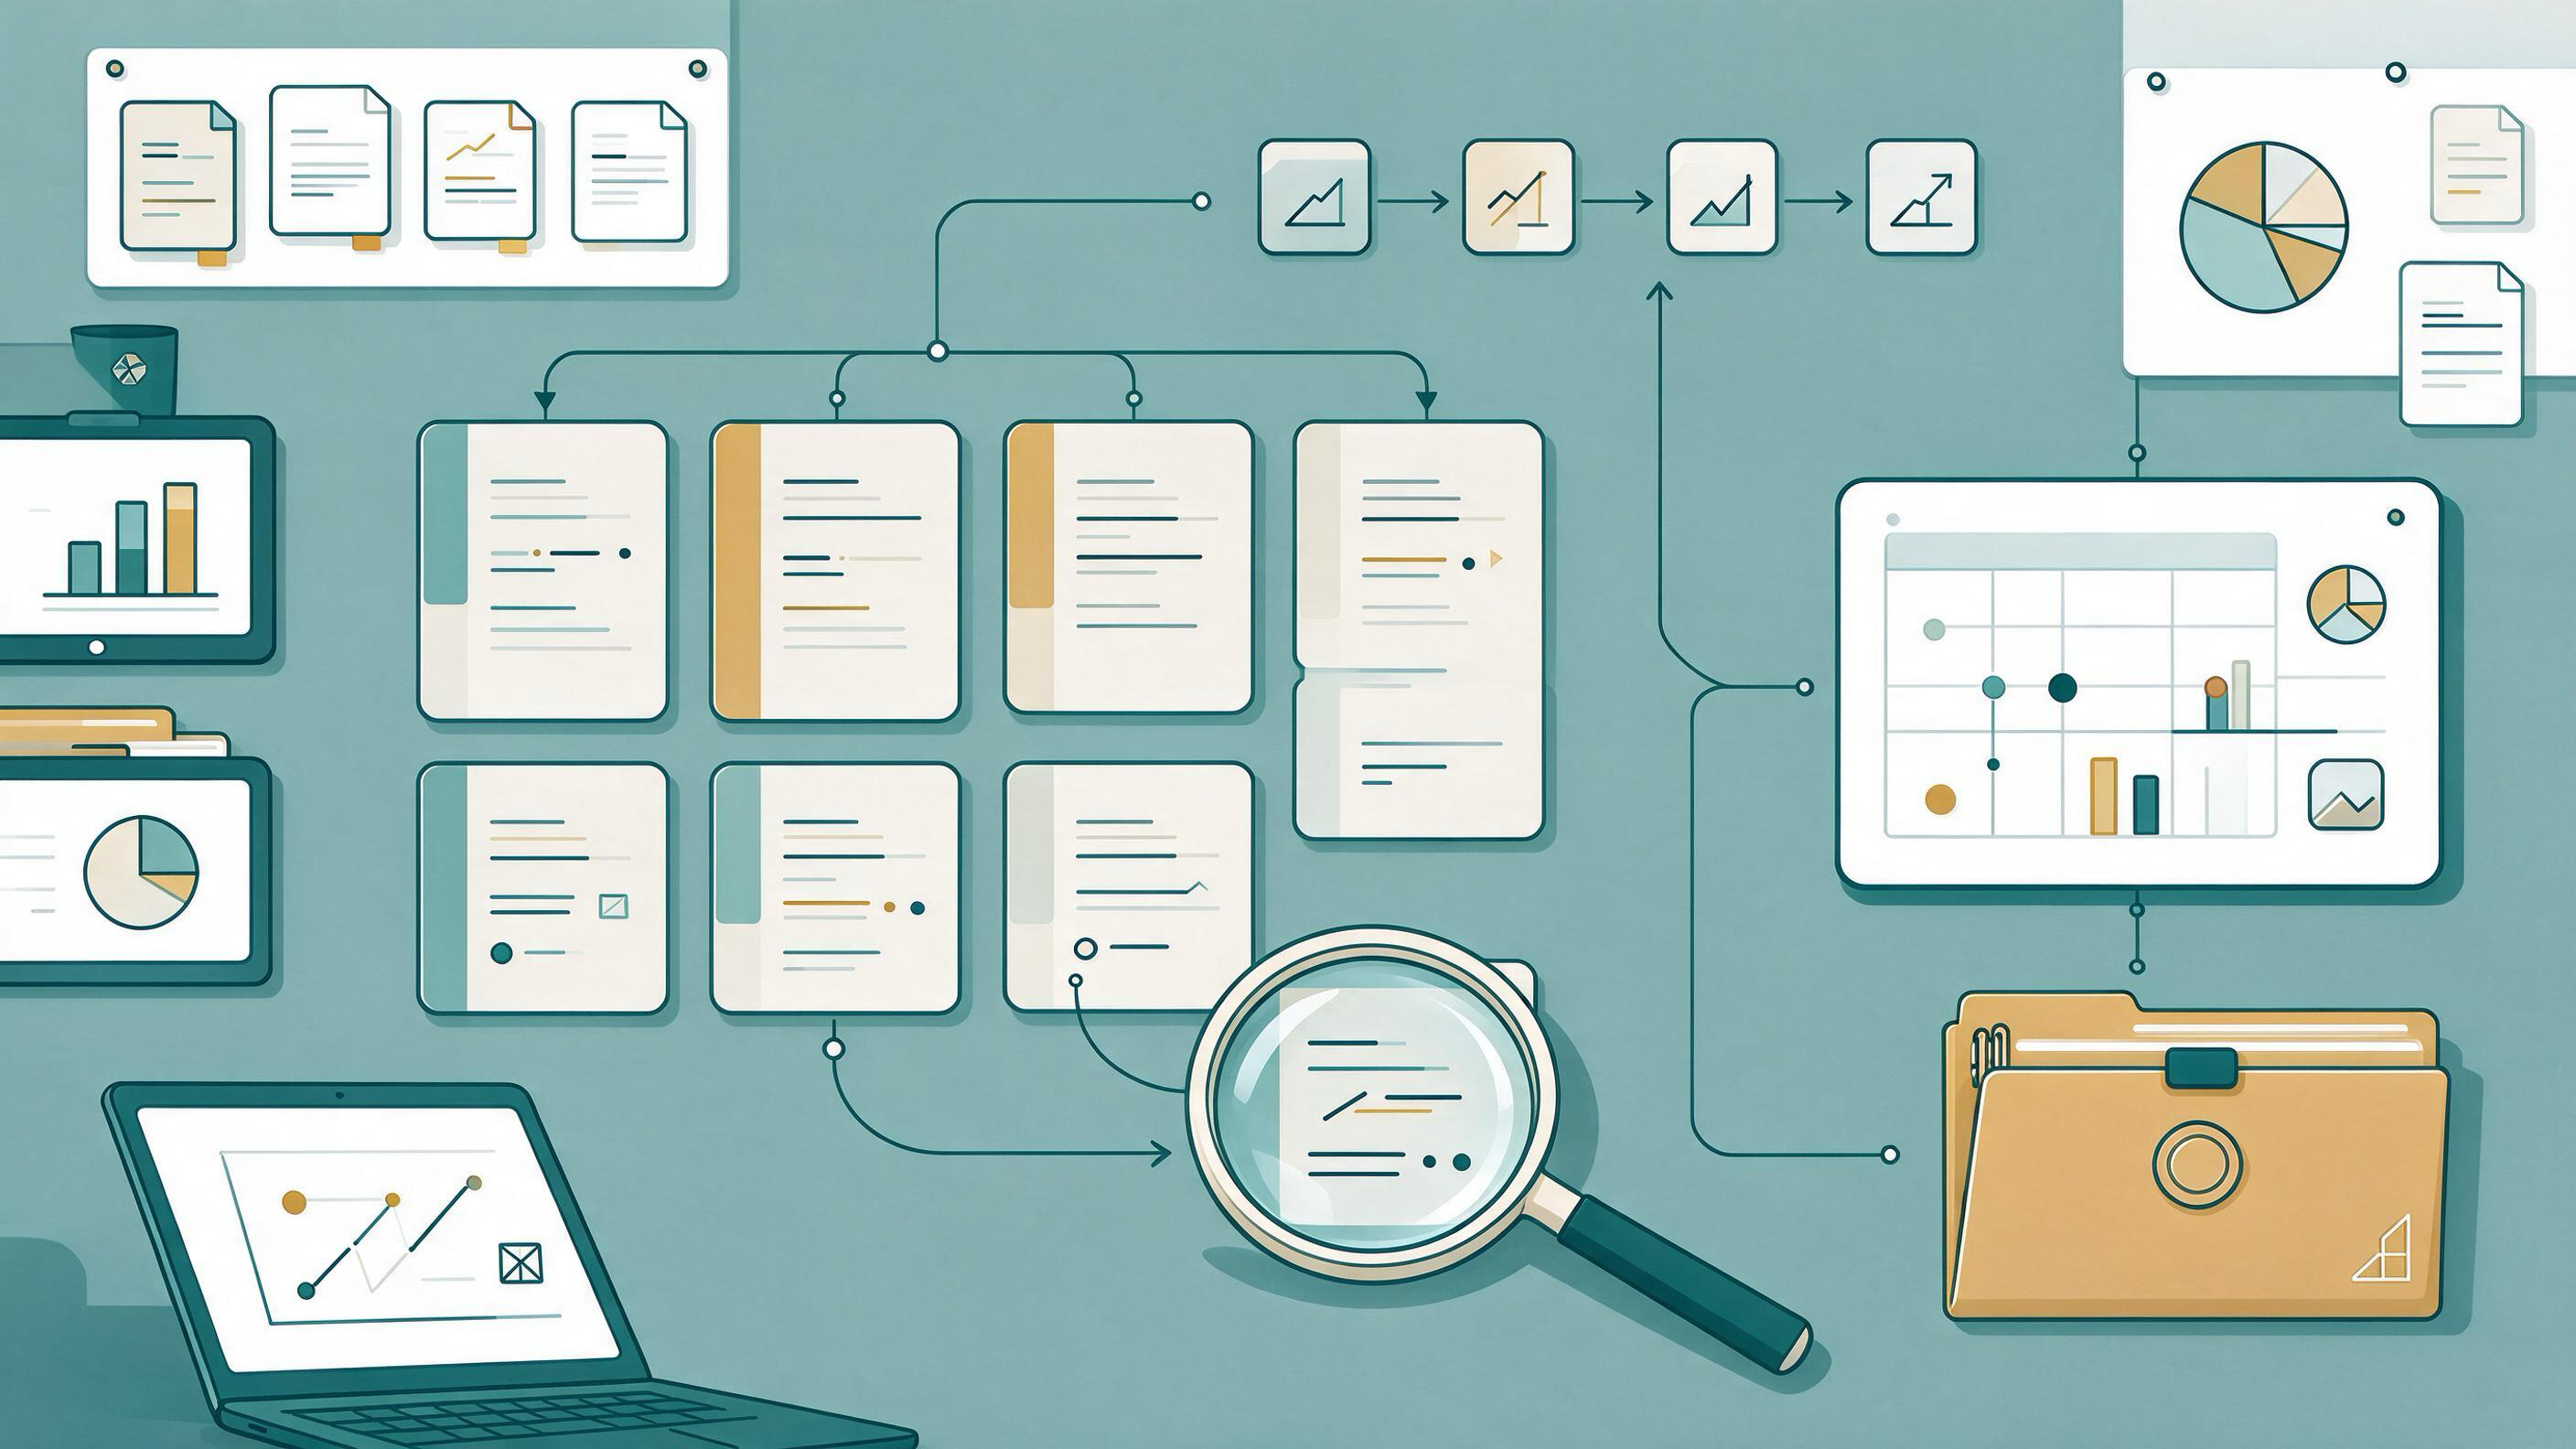
A systematic review's PDF folder is not a filing cabinet. It is the evidence base behind every number, table, and claim in the final report. If you cannot move from a sentence in your synthesis back to the exact PDF, page, and screening decision that supports it, the review is not ready to hand off.
This guide is for research, analysis, and knowledge teams who already have a pile of PDFs and need a defensible structure. It walks through the starting state, the decisions you must make, the artifacts you should produce, and the checkpoints that tell you the organization is finished. The running example is a client-facing evidence deck with a decision memo and a team handoff.
What does "organized" actually mean for a systematic review?
Organized means three things work at once. First, every record in scope can be traced to a source and a screening decision. Second, multiple reports of the same study are linked rather than treated as separate studies. Third, the search, selection, and synthesis methods are documented well enough to report transparently.
Cochrane's guidance on searching and selecting studies frames this as a planned process: searches are built from eligibility criteria, run across multiple sources, combine free-text terms with subject headings, and are documented as they happen. Records are deduplicated, screening happens in stages, and multiple reports of one study are linked. Searches are rerun before publication. PRISMA 2020 supplies the reporting backbone — a checklist, expanded explanations, an abstract checklist, and flow-diagram templates for original and updated reviews — covering search, selection, and synthesis methods.
That means your PDF organization has to serve two audiences: the team doing the work now, and the reader (or auditor) reconstructing it later.
Diagnose your starting state before you build folders
Most teams arrive with one of three starting states. Name yours honestly, because each needs a different first move.
- The download pile. PDFs sit in a downloads folder or shared drive with inconsistent filenames. Nothing is deduplicated, and you cannot yet say how many unique studies you have.
- The partial library. Some records are in a reference manager with tags or collections, but screening status is tracked in a separate spreadsheet that has drifted out of sync.
- The inherited review. A colleague left a structure you did not design. You can see folders but not the decisions behind them.
A quick diagnostic: pick five random PDFs and try to answer, for each, which search captured it, whether it passed eligibility, and which study it belongs to. If you cannot answer all three for most of the five, you are still in the pile stage regardless of how tidy the folders look.
Decide your organizing axes: study, status, and topic
Before creating a single folder, decide what a "unit" is. In a systematic review the unit is the study, not the PDF. One study may have a trial report, a protocol, and a follow-up paper. Cochrane explicitly calls for linking multiple reports of one study, so your structure must allow several files to sit under one study identity.
Three axes usually need to coexist:
- Study identity — the anchor. Every file belongs to exactly one study record.
- Screening status — identified, deduplicated, screened at title/abstract, assessed at full text, included or excluded, with a reason.
- Topic or method — useful for synthesis and for finding related evidence quickly.
Reference managers handle this well when you let one item live in multiple groupings without duplicating it, and when tags carry topic, method, status, or workflow. Zotero's collections and tags work this way, and its saved searches update automatically as items change. Duplicate detection is a separate, deliberate step — Zotero's Duplicate Items collection supports review and merging rather than silent deletion.
The practical rule: folders or collections for stable groupings, tags for changing status, and one canonical study ID that never changes.
Build the intake pipeline: search, deduplicate, screen in stages
The intake pipeline is where most traceability is won or lost. Follow the sequence Cochrane describes.
Step 1 — Plan searches from eligibility criteria. Write the criteria first, then derive free-text terms and subject headings. Record the date, sources, and full strategy for each search.
Step 2 — Capture records with their provenance. Every record should carry which search and which source produced it. This is the field you will thank yourself for later.
Step 3 — Deduplicate. Merge duplicates deliberately and keep a record of what was merged.
Step 4 — Screen in stages. Title/abstract first, then full text, with an exclusion reason at each stage.
Step 5 — Link reports to studies. When a second paper describes the same study, attach it to the existing study record rather than creating a new one.
Step 6 — Rerun searches before publication. Note the rerun date and what it added.
For the search itself, a scholarly search interface helps you find candidate papers and pull them into a working library. WisPaper's academic paper search is the entry point for finding papers, and My Library is where you save or upload papers and organize them. Keeping search and library in one place reduces the gap between "found it" and "it is in the review."
Set up the library so status is visible at a glance
Once records are captured, the library needs a consistent schema. Agree on it in writing before anyone tags a single item.
A workable schema:
- Study ID — a stable identifier you assign, used in filenames and in the synthesis table.
- Provenance — source database or search, plus capture date.
- Screening status — one tag from a fixed list, never free text.
- Exclusion reason — required whenever status is excluded.
- Topic and method tags — for synthesis grouping.
- Report type — primary report, protocol, follow-up, or secondary analysis.
Two habits keep this clean. First, status lives in exactly one place; if it lives in tags, it does not also live in a spreadsheet column that someone forgets to update. Second, saved searches or filtered views are how you check progress, not manual counting.
When you need to ask questions across the papers you have already collected, a library-grounded question tool is the natural next step. WisPaper's Library QA lets you ask questions based on papers uploaded to My Library or added from search results — useful for checking what a set of included studies actually says before you draft synthesis text.
Keep the audit trail: what to record and where
The audit trail is the difference between a review and an opinion. Record these artifacts as you go, not at the end:
- Search log — date, source, full strategy, number of records returned.
- Deduplication log — how many duplicates were merged and by what rule.
- Screening log — counts at each stage and exclusion reasons.
- Study linkage map — which reports belong to which study.
- Synthesis table — one row per study, with the fields you will report.
- Rerun note — date of the final search rerun and its yield.
PRISMA 2020's flow-diagram templates give you the shape these counts need to fit. Build your logs so the flow diagram can be filled in from them directly, rather than reconstructed from memory.
Worked example: a client evidence deck with confidence levels
Suppose your team is delivering a client deck on an intervention question, plus a decision memo and a handoff pack. Here is how the organization carries through.
The library. Each included study has one record with a stable study ID. Its reports are linked beneath it. Status tags show included, and exclusion reasons are recorded for everything screened out. Provenance fields show which search captured each record.
The synthesis table. One row per study: study ID, design, population, key finding, and a confidence level you assign using explicit criteria your team agreed on. Confidence levels are a team judgment, so write the criteria down and apply them consistently.
The deck. Every claim slide cites a study ID. The appendix maps each study ID to its PDF and page. A reader who doubts a number can walk from slide to study to source.
The decision memo. States the recommendation, the evidence behind it, and the confidence level attached to each supporting claim. Where evidence is thin, the memo says so rather than rounding up.
The handoff pack. Contains the search log, screening log, study linkage map, synthesis table, and a short note on where the PDFs live and how they are named.
For a project of this size, keeping the workstream in one place matters. WisPaper's Research Projects area is where you create and hold a project, so the library, questions, and outputs stay associated with the same review rather than scattered across tools.
Checkpoint: is the library ready to synthesize?
Run this checkpoint before anyone writes a synthesis sentence.
- Every included study has exactly one study record.
- Every PDF is attached to a study record, not floating loose.
- Every record has provenance.
- Every screened-out record has a reason.
- Duplicates have been merged and logged.
- The counts in your logs reconcile with the flow diagram.
- The synthesis table has one row per study and no blank confidence fields.
If any item fails, fix it before drafting. Synthesis written on a broken library has to be redone.
Checkpoint: is the output ready to hand off?
Before the deck, memo, or closeout pack leaves the team, verify:
- Every factual claim in the deck maps to a study ID.
- Every study ID maps to a PDF and page.
- Confidence levels are present and follow the agreed criteria.
- The search log shows the final rerun date.
- The handoff pack lets a new team member reproduce the screening decisions without asking you.
That last item is the real test. If a colleague can pick up the pack and trace any claim to its source, the organization is done.
Reusable checklist
| Stage | Artifact | Done when |
|---|---|---|
| Plan | Eligibility criteria and search strategy | Criteria written before searching; strategy recorded per source |
| Capture | Records with provenance | Each record shows source and search |
| Deduplicate | Deduplication log | Merges recorded, count reconciled |
| Screen | Screening log with reasons | Every exclusion has a reason |
| Link | Study linkage map | Multiple reports sit under one study ID |
| Organize | Library schema | Status in one place; tags from a fixed list |
| Synthesize | Synthesis table | One row per study; confidence levels filled |
| Report | Deck, memo, flow diagram | Every claim traces to a study and page |
| Rerun | Rerun note | Final search date recorded before publication |
| Hand off | Handoff pack | A colleague can reproduce decisions unaided |
When to bring in citation and agent support
Two situations justify extra tooling. The first is a reference list you did not build yourself — an inherited review, a collaborator's BibTeX, or a draft assembled from multiple sources. Citation screening checks BibTeX against real academic databases to flag hallucinated references; WisPaper's TrueCite is built for that check. Run it before the reference list enters the handoff pack.
The second is a longer research task that spans literature review and synthesis. WisPaper's Scholar Agent area covers longer research tasks with literature review use cases. Use it when the work is bigger than a single question against the library, and keep its outputs tied to the same study IDs as everything else.
Neither step replaces the library schema. They sit on top of it.
FAQs
Keep Reading
How to Prepare an Evidence Pack for Manuscript Submission
An evidence pack is the working dossier behind a manuscript's claims: the eligibility rules you set, the searches you ran, the records you screened, the studies you linked, the synthesis you built, and the limitations yo

How to Record Why Studies Were Excluded from a Review
When you finish screening, the number that matters is not how many records you removed but whether you can explain each removal. A defensible exclusion record lets a reader retrace your decisions, lets a supervisor or re
How to Recover a Missing Source from Notes and Quotes
A quote sits in your notes with no author, no year, and no link. It may be in a client deck, a decision memo, or a handoff document, and someone will eventually ask where it came from. Recovering the source is a reconstr