
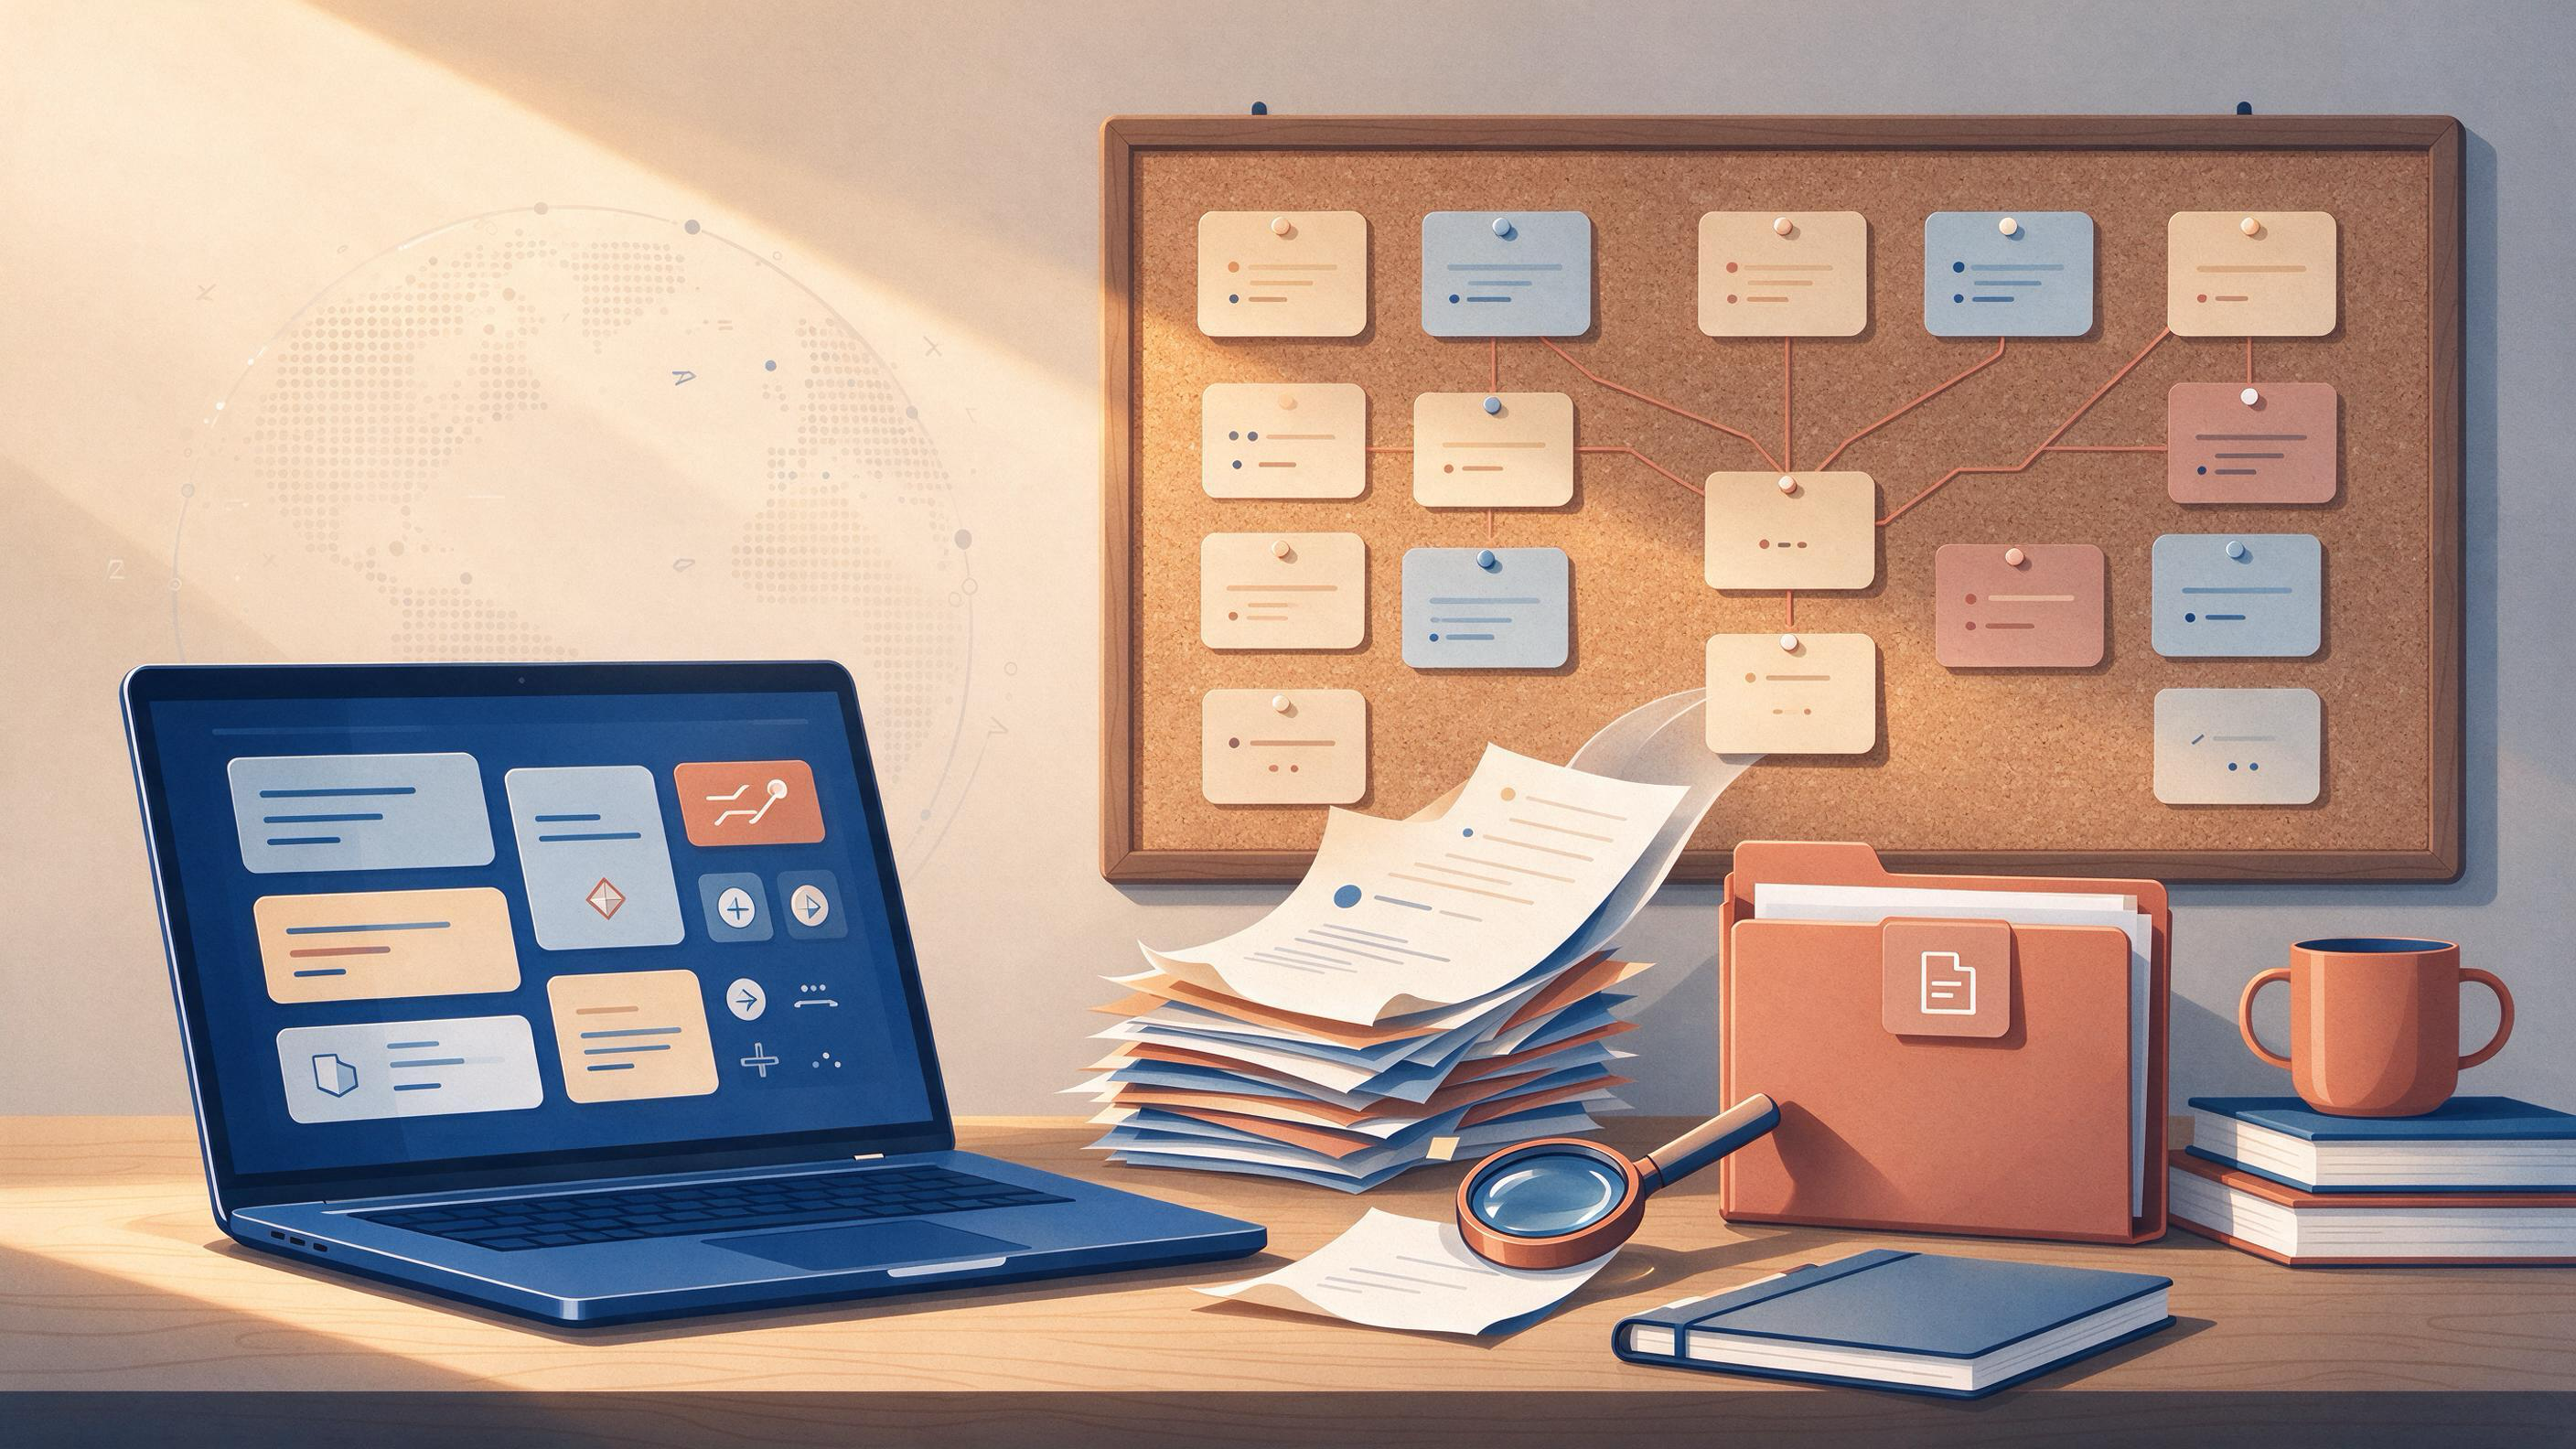
You have spent months collecting sources, highlighting PDFs, typing marginal comments, and pasting snippets into documents. Now the project is finishing, and the raw material has become its own problem: the same study appears in three places under different file names, one reading note contradicts another, and you cannot tell which version of a finding you actually used. Consolidating research notes at the end of a project is the step that turns scattered evidence into a defensible, reusable record.
This guide treats consolidation as a sequence you can finish in a few focused sessions. It starts by diagnosing what kind of note collection you have, then walks through a thesis chapter example, including how to handle supervisor feedback and the winter-break reset. You will leave with a reusable checklist, explicit completion criteria, and a concrete first action for your next project.
What Does "Consolidated" Actually Mean Here?
Consolidation is not the same as copying everything into one document. It means producing a single version of the truth for each source and each claim: one record per study, one answer per open question, and one clear handoff point for revision or the next project.
A consolidated note set gives you four things:
- One source record per study. When the same article appears as a PDF, a library entry, and a typed citation, those three representations are linked or merged into one.
- A claim-to-source map. Every factual statement you plan to keep in your paper can be traced back to the exact source that supports it.
- An explicit open-questions list. What you could not verify, what the supervisor flagged, and what needs a follow-up search is written down separately instead of hiding in old drafts.
- A restartable project shell. The next related project can start from your clean notes instead of starting over.
If you skip this step, you pay for it later. You re-find sources you already read, re-argue decisions you already made, and risk carrying an error from an abandoned draft into a submitted one.
How Do I Know What State My Notes Are In?
Before you start merging, diagnose what you are working with. Most end-of-project note collections fall into one of three states, and the state dictates your next move.
State 1: The pile. Everything is in one folder or one long document, with duplicate files, no clear source list, and no separation between what you used and what you only skimmed. Start with deduplication and source inventory.
State 2: The patchwork. You have a working bibliography and organized notes, but they live in different tools: citation manager, PDF annotations, a reading spreadsheet, and draft footnotes. Some records conflict. Start by reconciling the source records across tools.
State 3: The nearly-clean draft. The paper is drafted and most sources are in the bibliography, but final checks have not happened. You need verification and a deliberate close-out, not a full re-organization.
Answering one question places you quickly: if you had to submit today and someone challenged one factual claim, could you open the exact source and the exact location in under two minutes? If the honest answer is no, start with a source inventory. If the answer is yes for most claims but not all, skip to verification.
What Does a Full Consolidation Sequence Look Like?
Work through these six steps in order. Early steps remove noise; later steps add certainty. Resist the urge to perfect individual notes before you have removed duplicates, because you will waste time polishing files you later delete.
Step 1: Freeze the Project and Take a Source Inventory
Create a single list of every source you believe you used: title, authors, year, publication, DOI if available, and where it currently lives. A persistent identifier such as a DOI is useful at this stage because it remains stable even when the location or descriptive metadata of an object changes. Listing DOIs now makes later merging and verification less ambiguous.
Your inventory does not need to be beautiful. A table or spreadsheet is fine. The point is to surface every distinct item and every duplicate representation of the same item.
Step 2: Deduplicate and Merge Records
Go through the inventory and identify records that refer to the same underlying work. The same study may appear as a PDF downloaded from a preprint server, a publisher page saved to a citation manager, and a line in a literature-review spreadsheet. Merge them behind one canonical record that keeps the strongest metadata: complete author list, publication venue, year, DOI, and any funder, license, or relation information that was deposited in the scholarly record.
When you find a source used in the paper but missing from your bibliography, add it now. When you find a bibliography entry you never actually cited, mark it for removal rather than silently deleting it, so you can explain the choice if asked.
Step 3: Map Claims to Sources
For each section of your paper, write down the factual claims that remain. Next to each claim, record the source and, where possible, the specific part of the source that supports it. A claim like "interventions reduced readmissions" needs the exact study, outcome, and reported direction, not just the source title.
Where relationship metadata between works is available, such as a source being an erratum, a commentary, or a version of another record, keep that relationship visible. It prevents you from treating two linked reports as independent evidence when they are not.
Step 4: Close the Open Questions
Look for every place where a note says "check this," "confirm before submitting," or "find a better source." Separate these into three lists:
- Must fix before submission. Missing citation, unsupported claim in the final draft, contradictory numbers.
- Nice to fix if time remains. A background citation could be stronger, a definition could be more precise.
- Carry forward to the next project. Related reading that is valuable but not required now.
Only the first list blocks completion. The third list is the seed of your next project's research plan.
Step 5: Update the Record Before It Goes Out
If the project is a thesis chapter or manuscript that will be read by others, run one deliberate search pass for anything that changed while you were writing: newly published evidence, a retraction, or a corrected version of a source you cited. A systematic approach means planning searches from your eligibility criteria, using multiple sources, documenting the process, deduplicating records, screening in stages, and linking reports of the same study. Even in a small single-chapter project, a condensed version of that discipline prevents you from submitting with an outdated claim.
Step 6: Package the Handoff
End with three artifacts:
- The canonical source list. One clean, deduplicated, verified record per source.
- The claim-to-source map. A short table or annotated outline of what each part of the paper relies on.
- The carry-forward list. What to read, verify, or build next.
Store these where you will actually find them in January or whenever your next project starts.
Worked Example: A Thesis Chapter After Supervisor Feedback
Here is how the sequence plays out in a realistic scenario.
The situation. You finished a thesis chapter in early December and received supervisor feedback before the winter break. The supervisor accepted the overall argument but flagged three issues: one cited paper appears to be a preprint whose published version now exists; two sources in the bibliography are never cited in the text; and one quantitative claim in the discussion does not appear in the source you attached.
The note state. This is a patchwork. Your PDF annotations are in one folder, your bibliography is in a reference manager, your supervisor's comments are in an email thread, and your reading notes are in a separate notebook app.
What you do over the winter-break reset.
- Inventory. You list all 41 sources mentioned anywhere in the chapter folder. Twelve represent duplicates of the same eight articles.
- Deduplicate. You merge the duplicates behind eight canonical records. For the preprint flagged by your supervisor, you check the scholarly record for the work and find the published version with updated metadata. You replace the preprint citation.
- Map claims. You open the discussion section and list the six factual claims that carry the argument. Five map cleanly to a source. The flagged quantitative claim does not: your note recorded a number from one table, but the text you wrote gives the number from a different subgroup. You correct the text to match the table.
- Close questions. You build a three-item must-fix list: replace the preprint citation, remove the two uncited bibliography entries, correct the subgroup number. Your nice-to-fix list has two items: tighten one definition and add a more recent review. Your carry-forward list has five papers you read but did not use, which become the seed reading list for the next chapter.
- Update. You run one focused search using the chapter's eligibility criteria to check whether any directly relevant study appeared during the semester. Nothing material changes, and you document that the search was run and on what date.
- Package. You save a single chapter source list, a one-page claim map, and the carry-forward list to a new project folder for the January restart.
How you know it is ready. Every factual sentence in the chapter traces to a source record you can open in under two minutes. The bibliography contains no uncited entries. The supervisor's three must-fix items are resolved. The carry-forward list is written down instead of living in your memory.
Where Does WisPaper Fit Into This Workflow?
WisPaper is an AI research assistant for finding, screening, organizing, and working with academic papers. The consolidation workflow maps onto a few specific places in that workspace, and each one supports a step in the sequence rather than acting as a detached extra tool.
During the source inventory, WisPaper's search interface is the natural place to re-locate a source when your only surviving note is a partial title or an author name. Step 1 is also the moment to pull your scattered materials into one place. When you need to save or upload papers and organize them in a single library, the My Library area is built for exactly that task.
During the claim-to-source mapping, questions tend to be specific and grounded in the papers you already hold: "What did this study report for the subgroup outcome?" or "Which session of the methods describes the exclusion criteria?" When the questions come from papers you have uploaded to My Library or added from search results, Library QA lets you ask them against that material. At the point where your supervisor flags a quantitative claim against a specific paper you have in the library, asking the question against that uploaded paper is a fast way to locate the relevant passage before you correct the text.
During the verification and close-out step, the specific risk changes. The bibliography may contain entries that never existed, or entries whose details drift from the real published record. BibTeX citation screening is the job TrueCite targets: it checks BibTeX against real academic databases to flag hallucinated references. For a thesis chapter closing out after supervisor feedback, running the final bibliography through this kind of check is a concrete closing action rather than a hand-wave at revision.
When consolidation reveals that your open questions are larger than a single missing citation, the next step is a deliberate longer task. For a longer research task such as a structured literature review or an inspiration pass on the carry-forward list, the Scholar Agent area is the entry point for that kind of work. This connects the end of one project to the beginning of the next without forcing everything into a single session.
A word on order. Run the deduplication and claim-mapping by hand first, then use the tool features at the specific moments above. The tools work best when you know what question you are asking them, and consolidation is how you discover those questions.
What Is My Reusable Consolidation Checklist?
Use this checklist at the end of every project. Check each item only when it is true, not when you intend to make it true.
| # | Item | Done when |
|---|---|---|
| 1 | Source inventory exists | Every source you believe you used appears once on a single list with title, authors, year, and DOI where available |
| 2 | Deduplication complete | Each underlying work has one canonical record; merged duplicates are marked |
| 3 | Bibliography matches usage | No uncited entries; no in-text source missing from the bibliography |
| 4 | Claim-to-source map exists | Each factual claim in the final draft has a named source and location |
| 5 | Must-fix list cleared | Every blocking item is resolved or removed from the paper |
| 6 | Update search run | You performed and documented a search pass for what changed while you wrote |
| 7 | Carry-forward list saved | Unused but relevant reading is recorded for the next project |
| 8 | Record packaged for restart | The three artifacts are in a folder you will check when the next project starts |
Run the checklist twice: once at the start of consolidation to see the gaps, and once at the end to confirm the close-out.
What Does Completion Actually Look Like?
Use explicit criteria rather than a feeling. The consolidation is complete when all of these are true:
- One record per study. Opening your source list shows no duplicate representations of the same work.
- Every claim has a source and a location. You can move from any factual sentence in your final draft to the exact source that supports it without searching.
- The bibliography and the text agree. Every cited source appears once in the bibliography, and the bibliography contains nothing the text does not cite.
- Blockers are resolved. Nothing on your must-fix list remains.
- The date-stamped update search happened. You can state when you last checked for new or corrected evidence.
- The next project can start from your artifacts. The carry-forward list and claim map are stored somewhere you will reopen them.
When all six are true, the consolidation step is finished. The feeling of readiness follows from these, not the other way around.
Your Next Action
Do not re-read your entire note collection tomorrow. Pick the smallest high-leverage action instead: create the source inventory for the current project. In a single session, list every source you believe you used, one line per distinct work, with its DOI where you have it. That list is the backbone of every later step, and the act of writing it will reveal where your collection is actually broken.
Once the inventory exists, use the artifact descriptions in this guide as your map: deduplicate from the inventory, then rebuild the claim-to-source map, then close the open questions. You can re-approach your next project from a clean start instead of a pile.
FAQs
Keep Reading
How to Create a Restart Note That Actually Moves Your January Research Forward
Most restart notes fail before January ends because they list intentions without a handoff. A useful restart note tells your future self what was finished, what is uncertain, where everything lives, and what the first wo
How to Cut a Research Paper to the Journal Word Limit Without Losing Your Argument
Most word-limit problems are not writing problems. They are selection problems. You have more material than the journal wants, and the real task is deciding which 20–30% of the paper carries the argument and which materi
How to Decide Which Research Project to Pause
Deciding which research project to pause is not a single binary choice. It is a portfolio decision made under constrained time, attention, submission deadlines, and funding. The goal is to stop work on the project that c